Getting Started with Magni 6 Mini
In this guide you will learn everything you need to unbox, set up, and get your Magni 6 Mini Robot up and running. By following these simple, step-by-step instructions, you’ll have a fuly functional, drivable robot ready to explore its surroundings. Whether you’re new to robots or looking to refresh your skills, we’re here to guide you every step of the way.
Before you Begin
To ensure smooth start, check out the general requirements in the Start Here guide, for tools and setup essentials. This will prepare you and your workstation (PC) for the journey ahead.
What You’ll Achieve
By successfully completing the steps in this guide, you’ll have a working Magni 6 Mini robot that’s ready to drive and explore.
Unboxing
The Magni 6 Mini will come in a package like this:

- The package includes the following:
1x Magni 6 Mini Robot (pre-assembled)
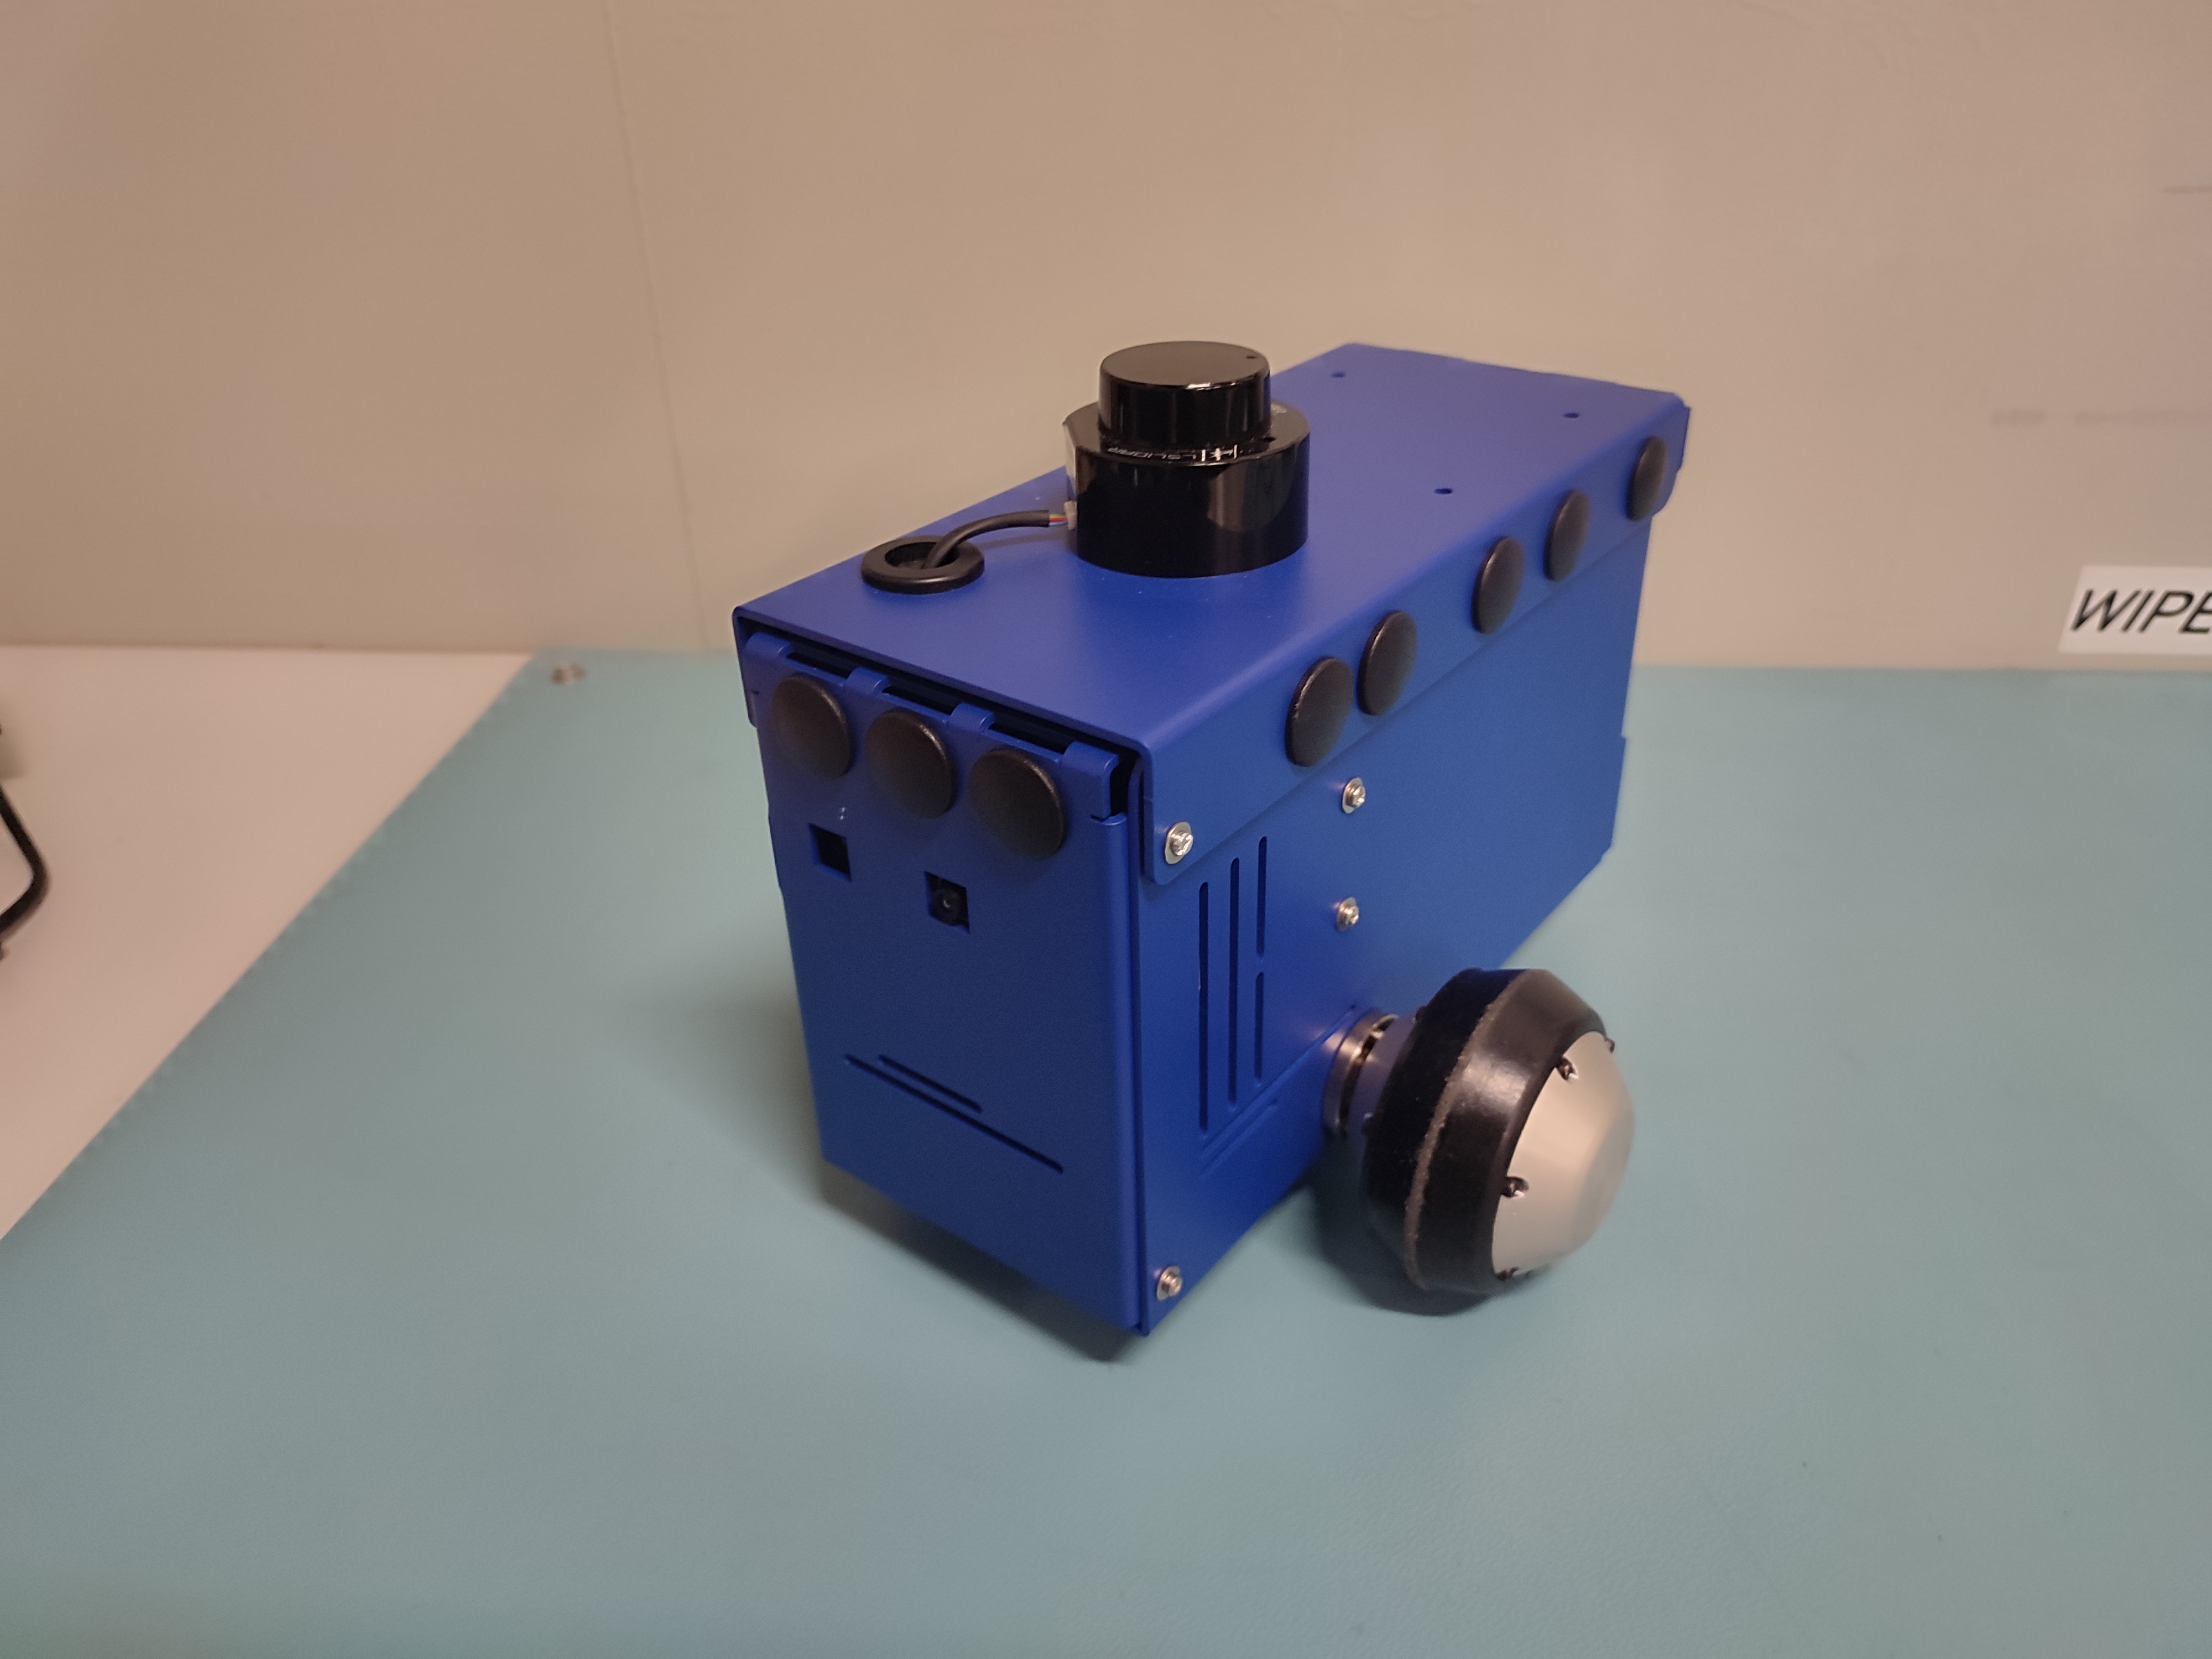
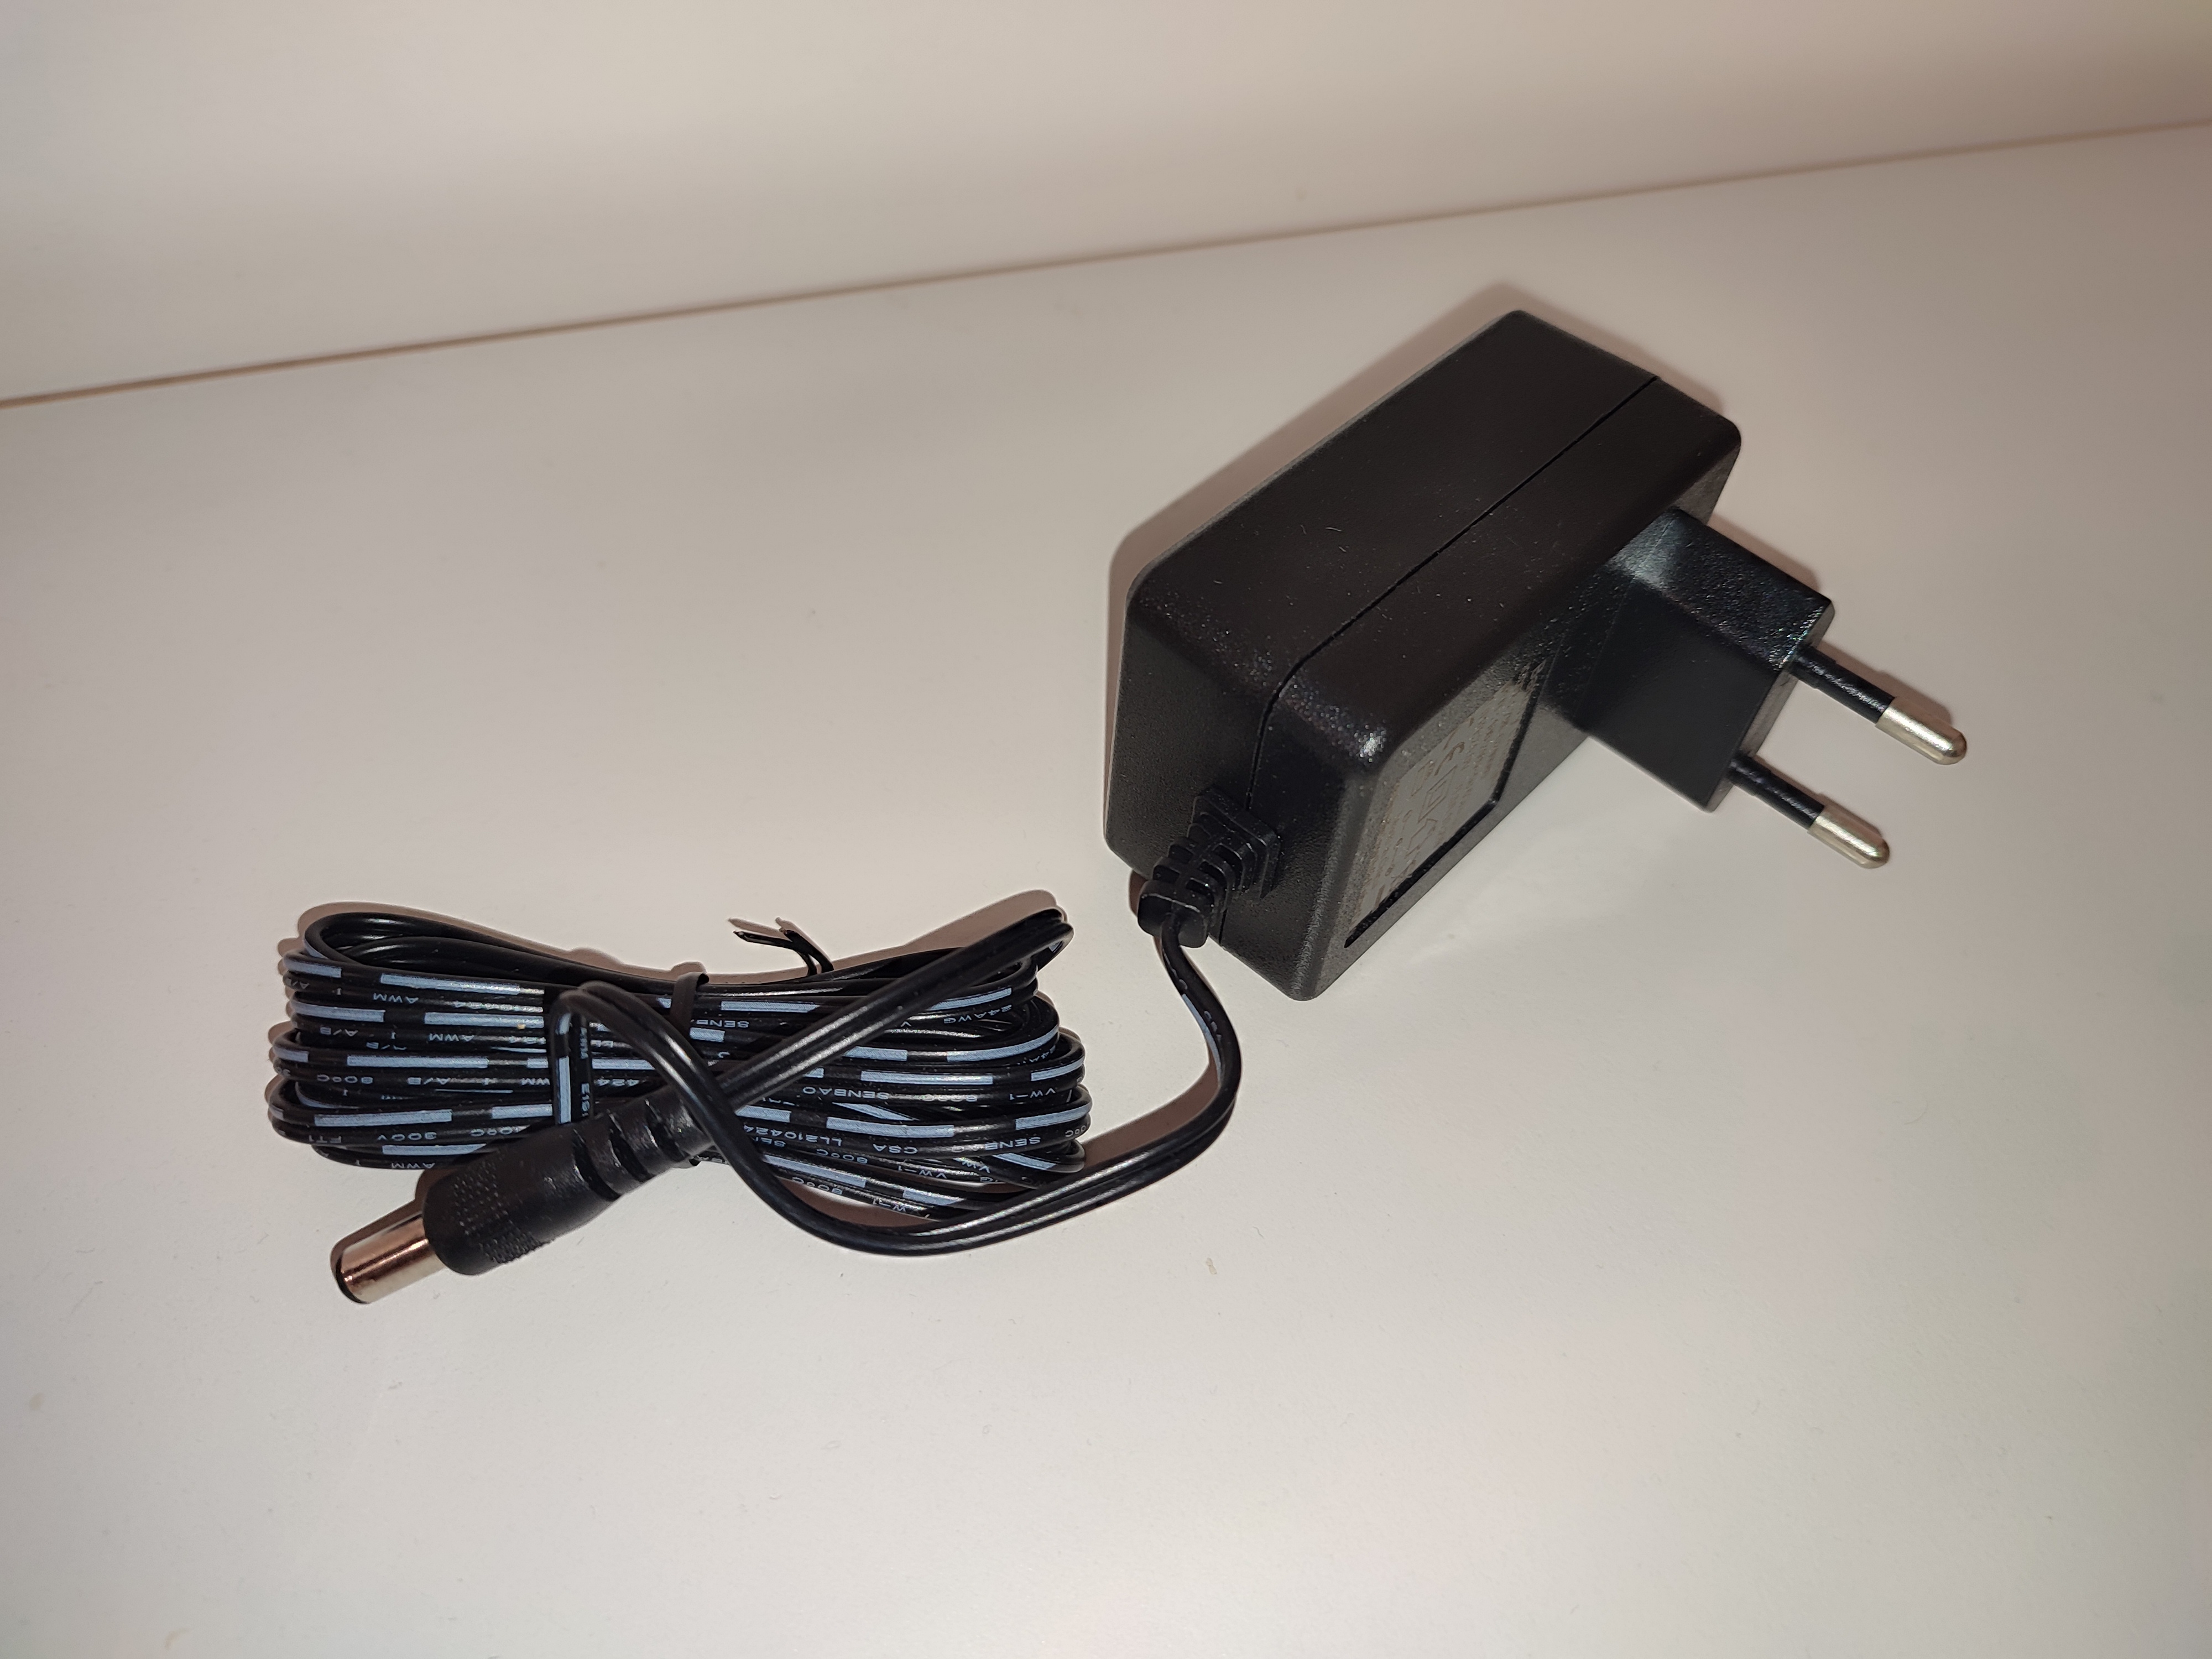
1x Battery Charger (see: Battery Guide for Magni 6 Robots on how to charge.)
- Initial Inspection Checklist:
Verify all components are included and undamaged.
Outside
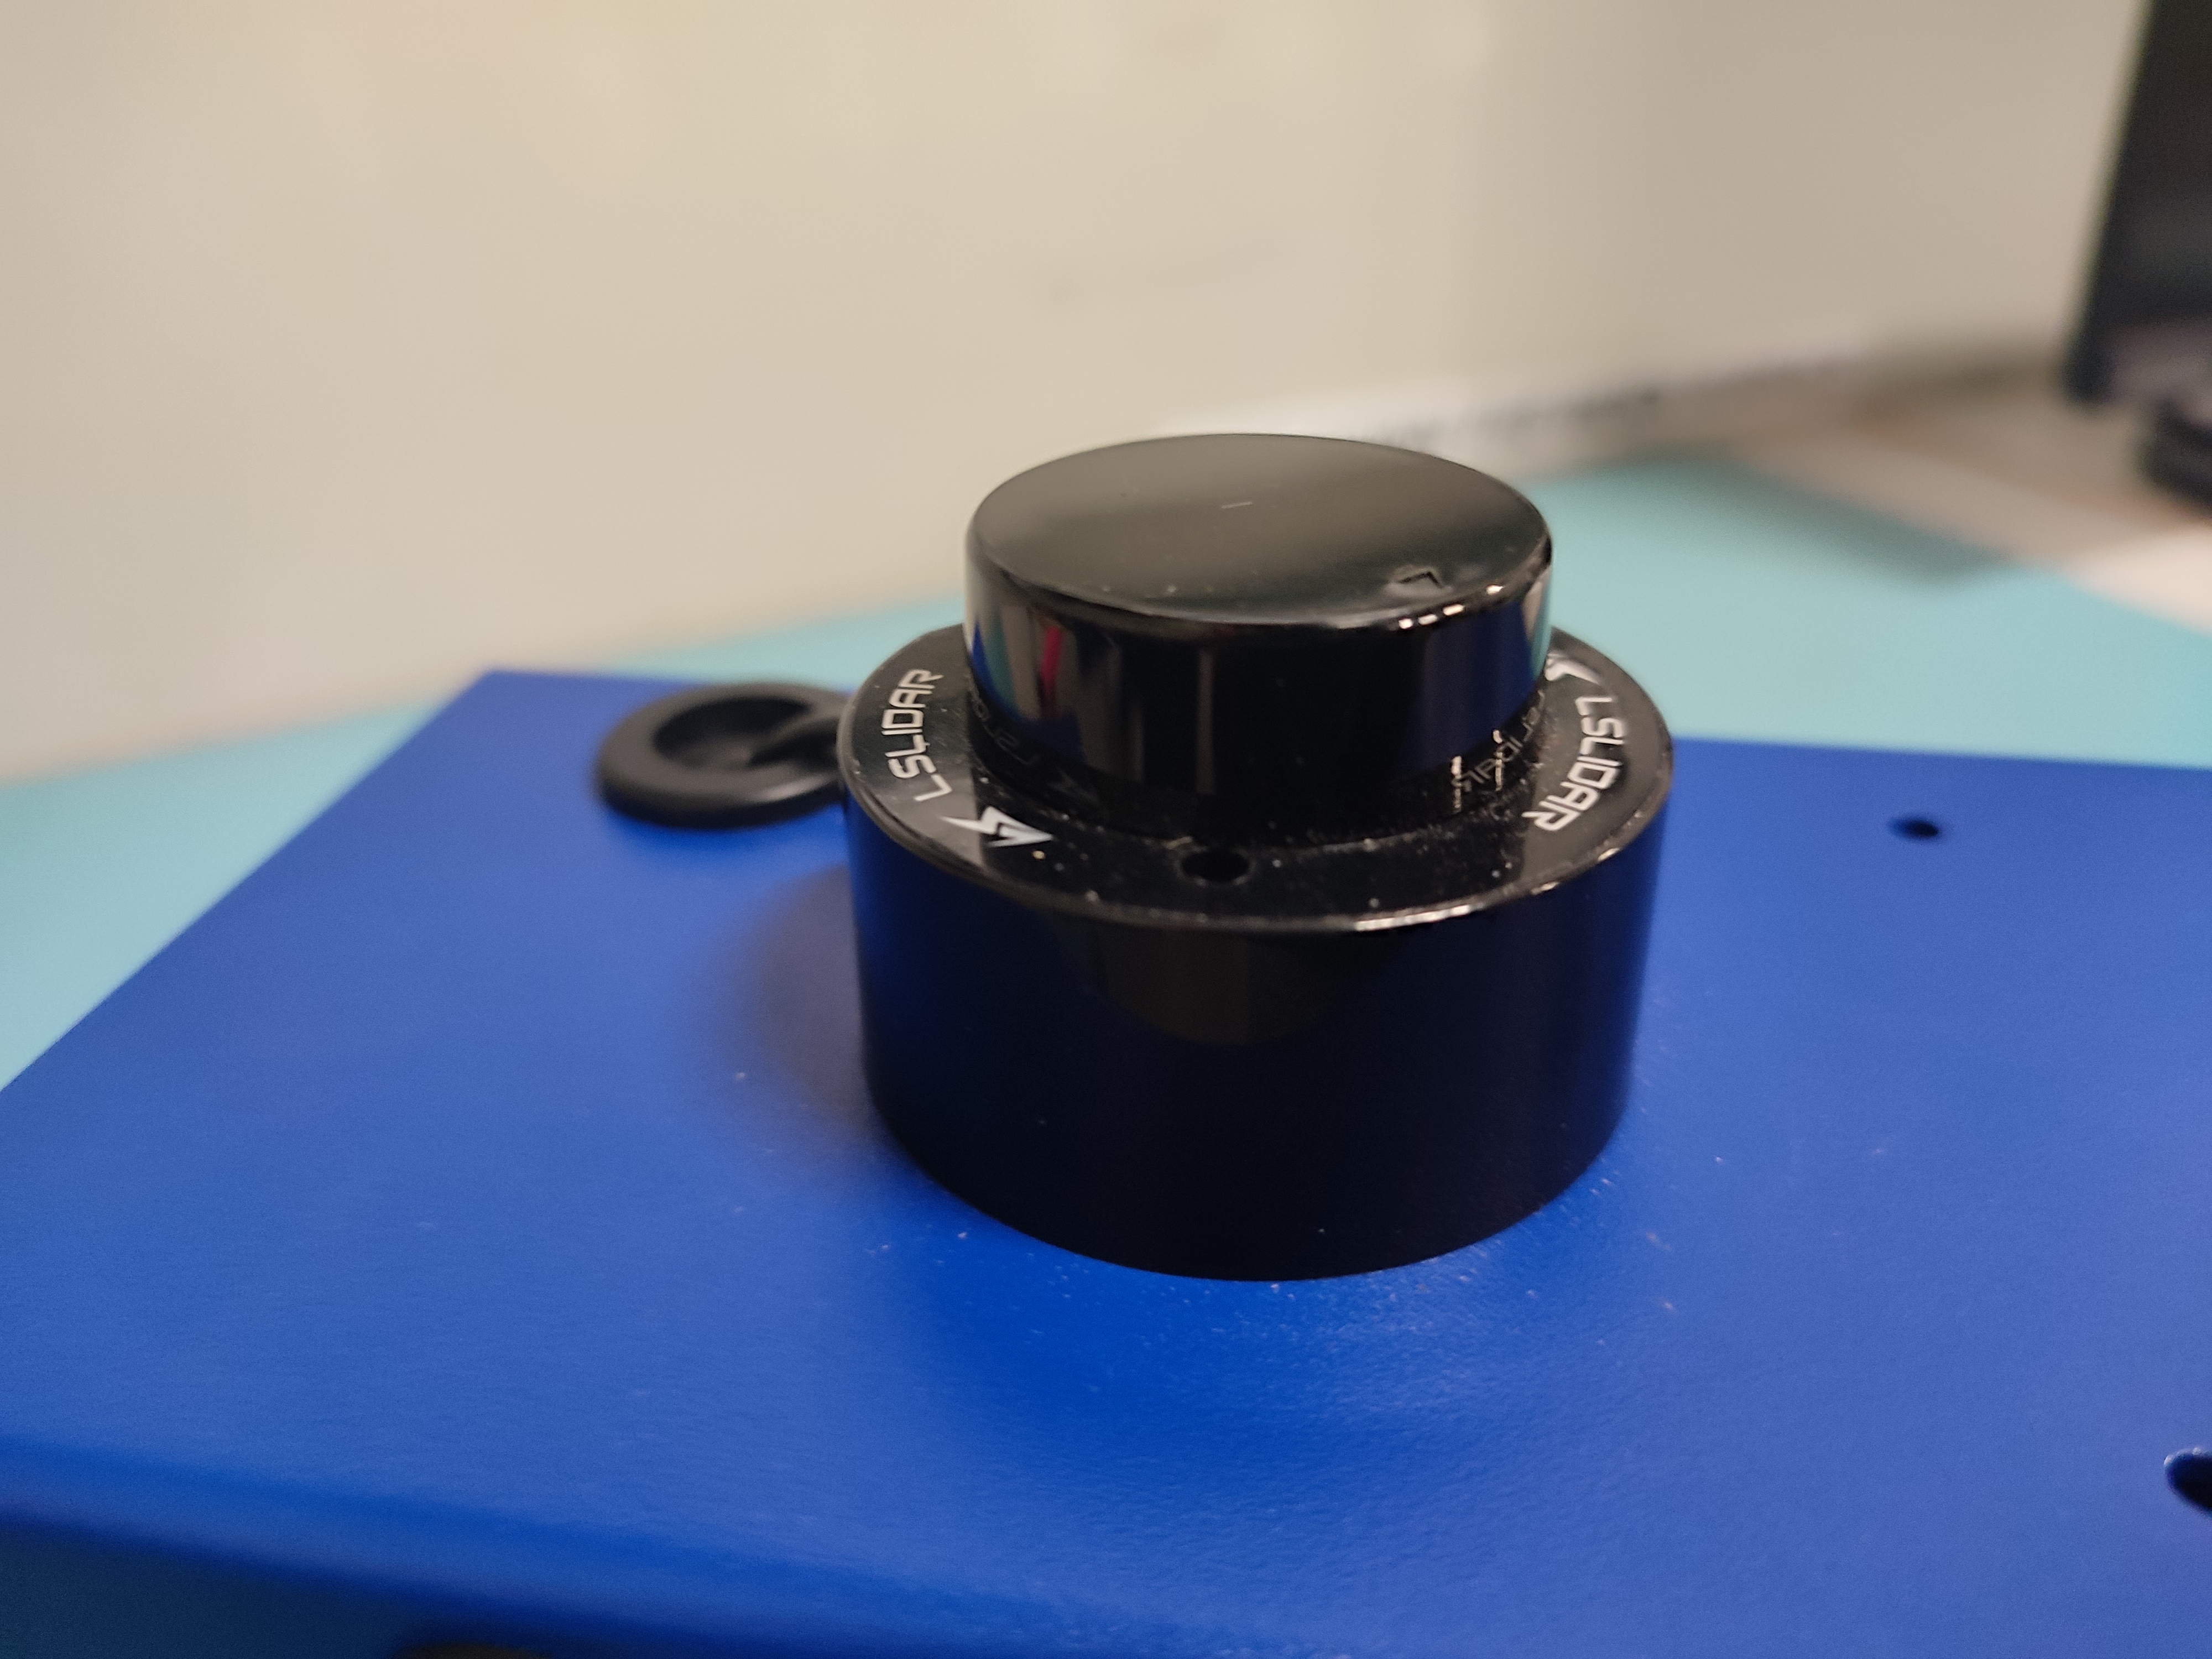
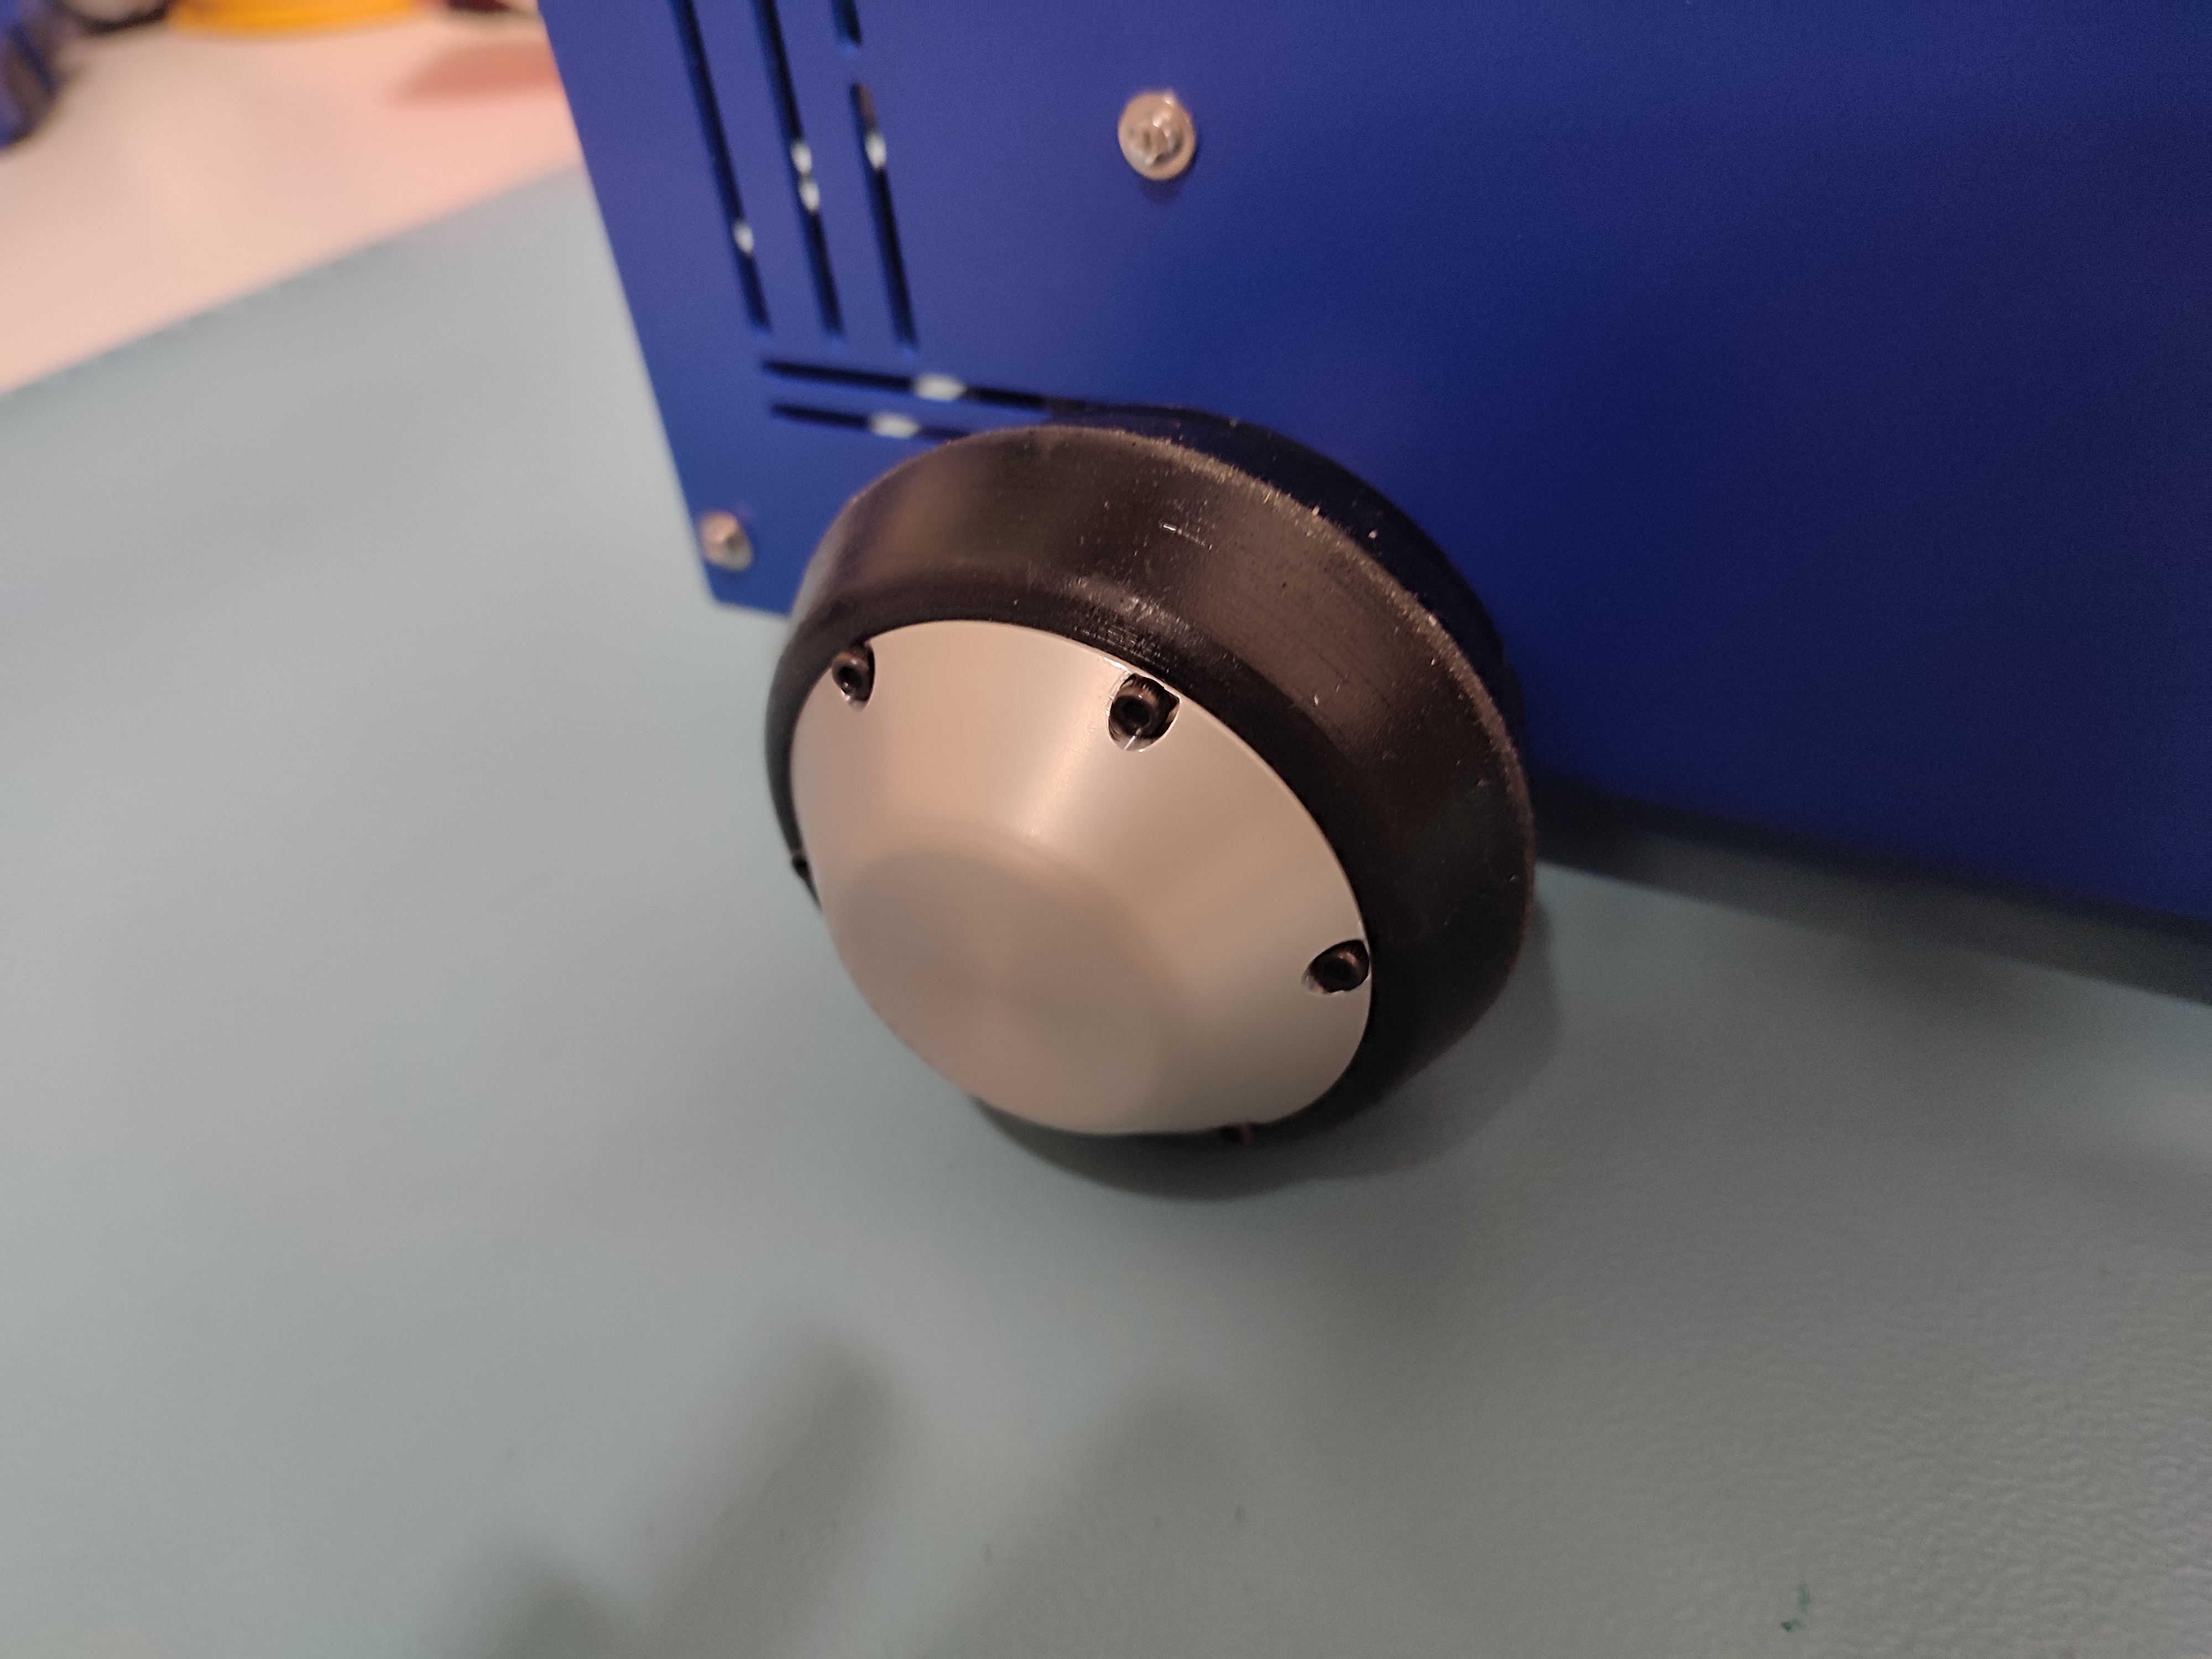
Lidar
Chasis
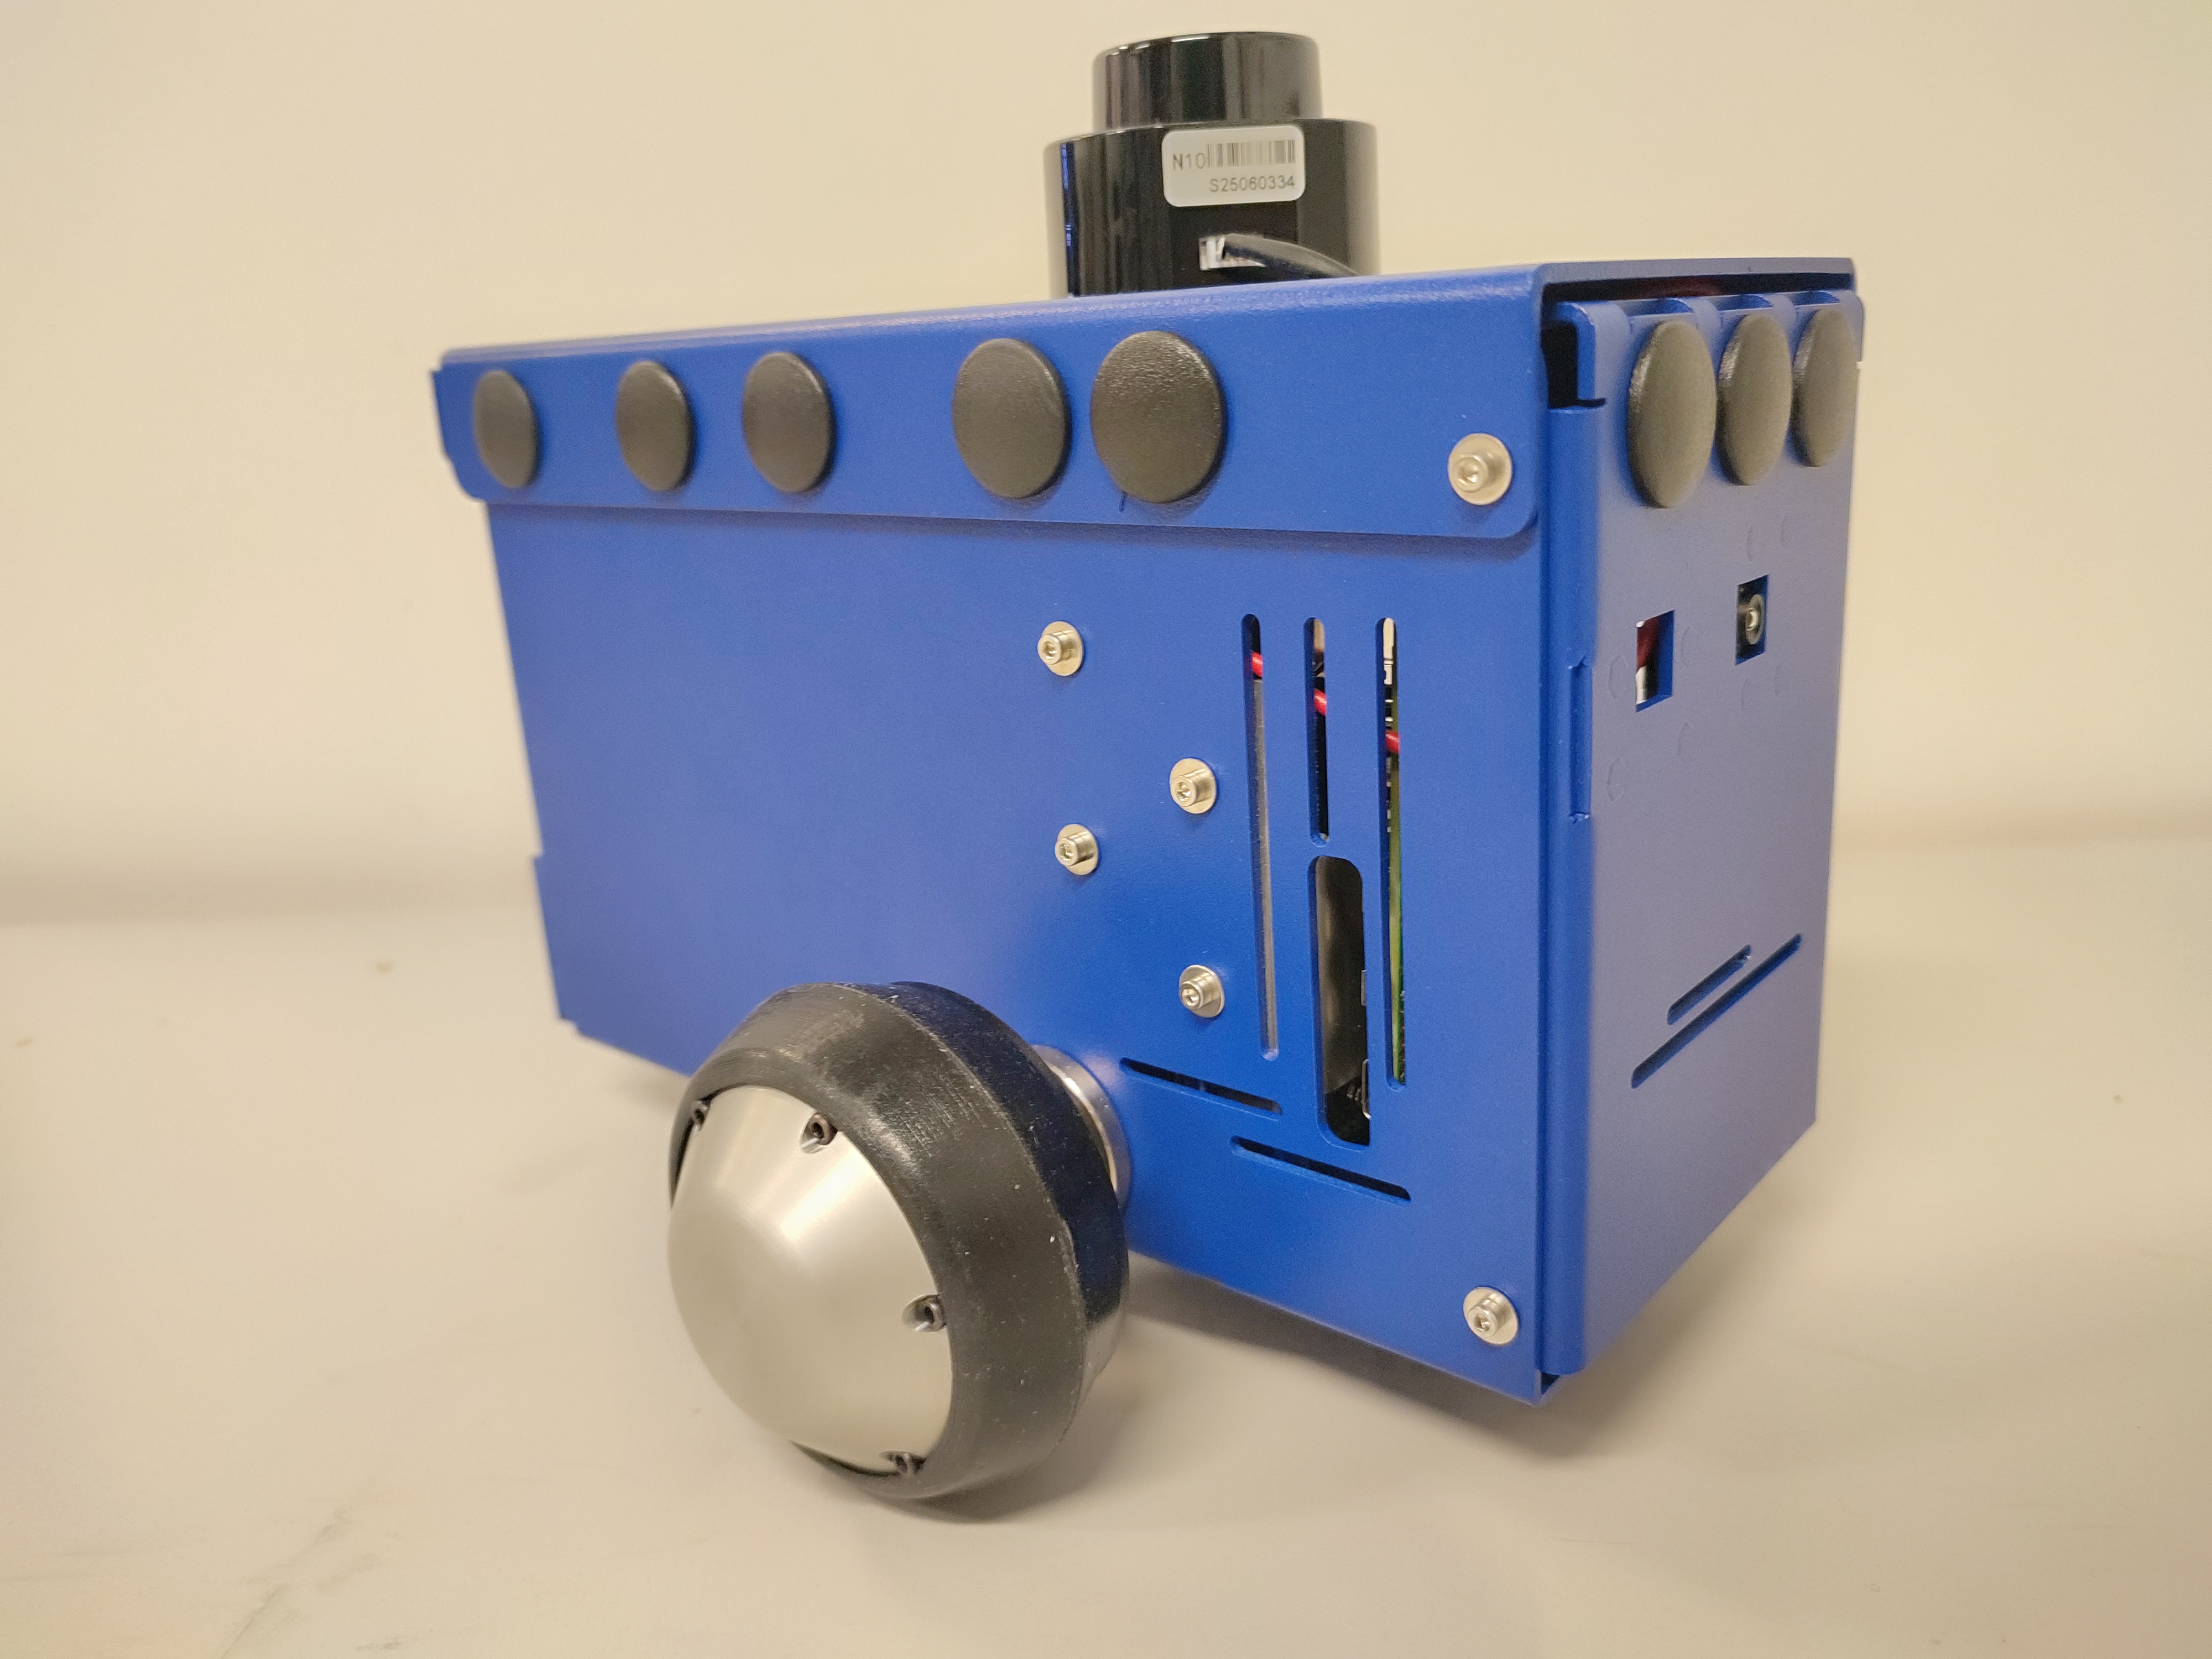
Motor Wheels
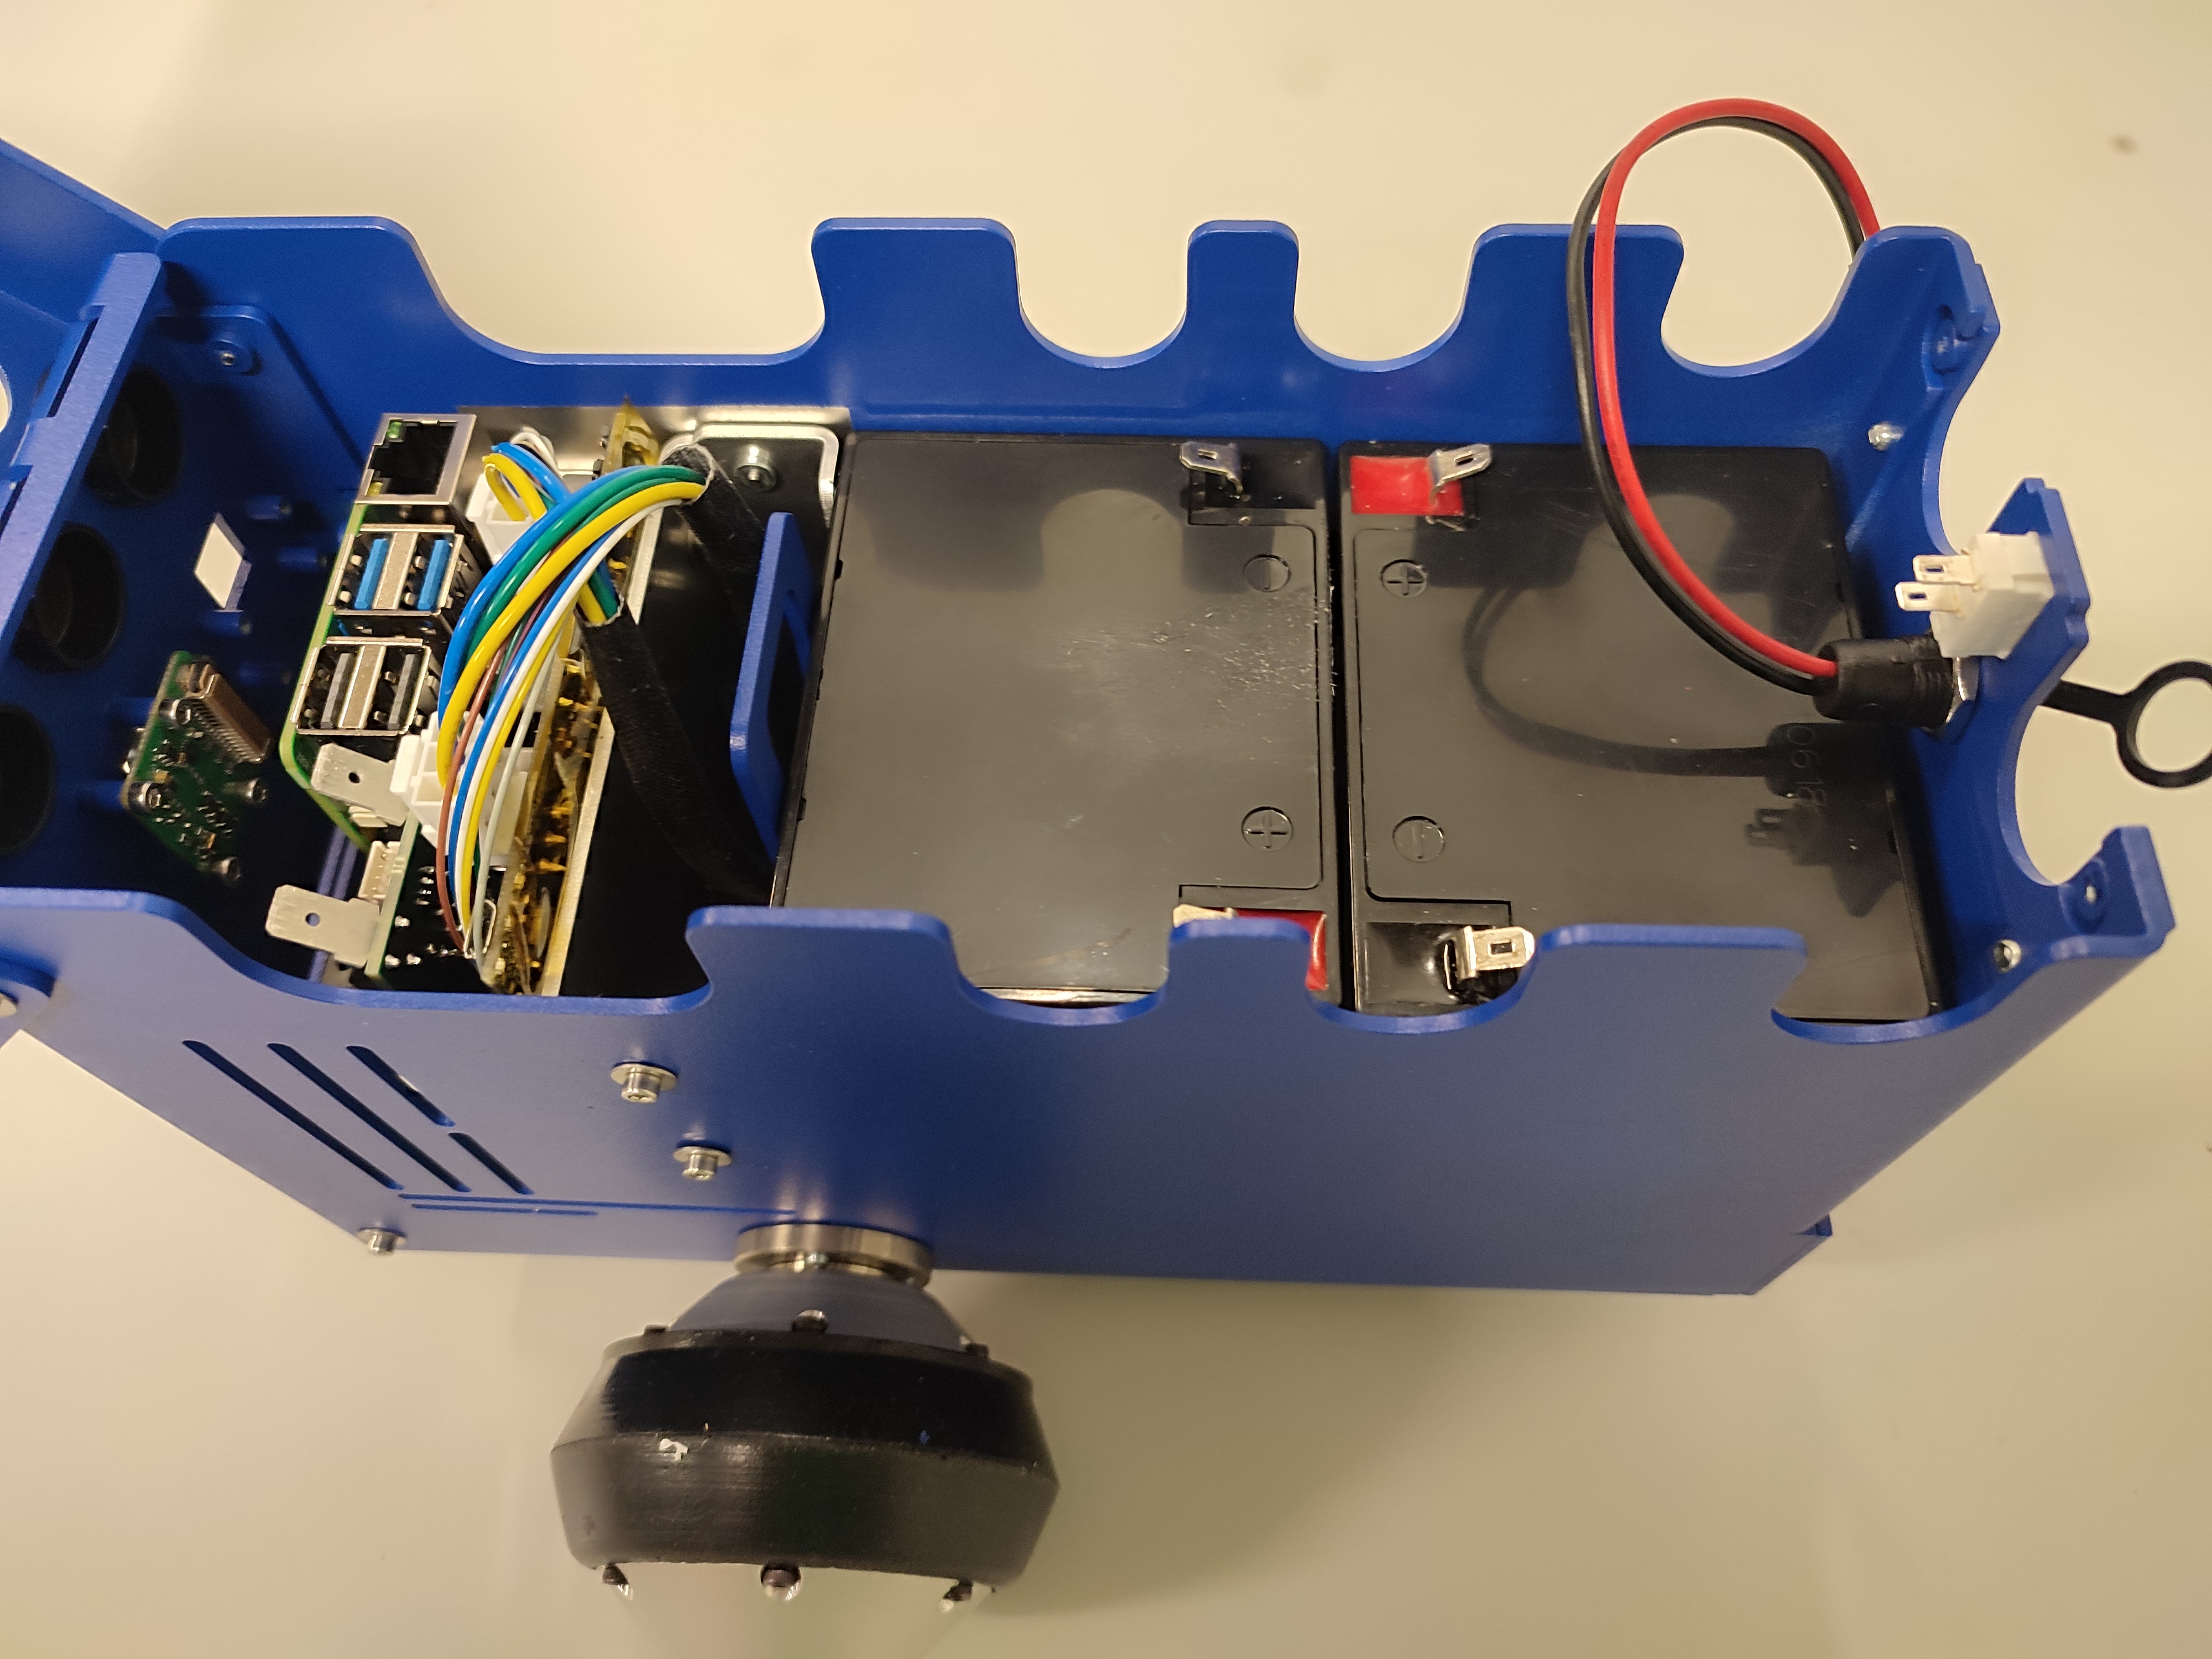
Inside
Motor Controller Board

PCB Connector
Raspberry Pi
Pi Camera
All the necessary wires, listed in the images bellow.
Verify that the already connected hardware componenets remain securely attached and undamaged.
Note
The robot comes pre-assembled with the following connected components:
Motor Controller Board connected to the Rasberry Pi 5 via a PCB Connector Board.
Motor Wheels connected to Motor Controller Board through their cables.
Lastly, check for loose connectors or wheels.
Watch this video for a visual guide on checking component connections and condition after unboxing:
[TODO: We will add video to show the checking process. ]
If all components are securely connected and undamaged, proceed with adding the batteries in the robot.
Important
Upon receiving the package:
If any componenets are not properly connected, refer to the assembly guide: Asembly of Magni 6 Mini
If any componenets are damaged, contact Ubiquity Robotics support for replacements parts.
Setup
Battery Installation and Safety
Ensure the Magni 6 Mini’s two Lead-Acid batteries are safely installed and charged before powering on. For this guide for exact instructions on how to charge the batteries before adding them to ther robot: Battery Guide for Magni 6 Robots
- Inspect the Batteries:
Check for visible damage (e.g., swelling, leaks, or cracks).
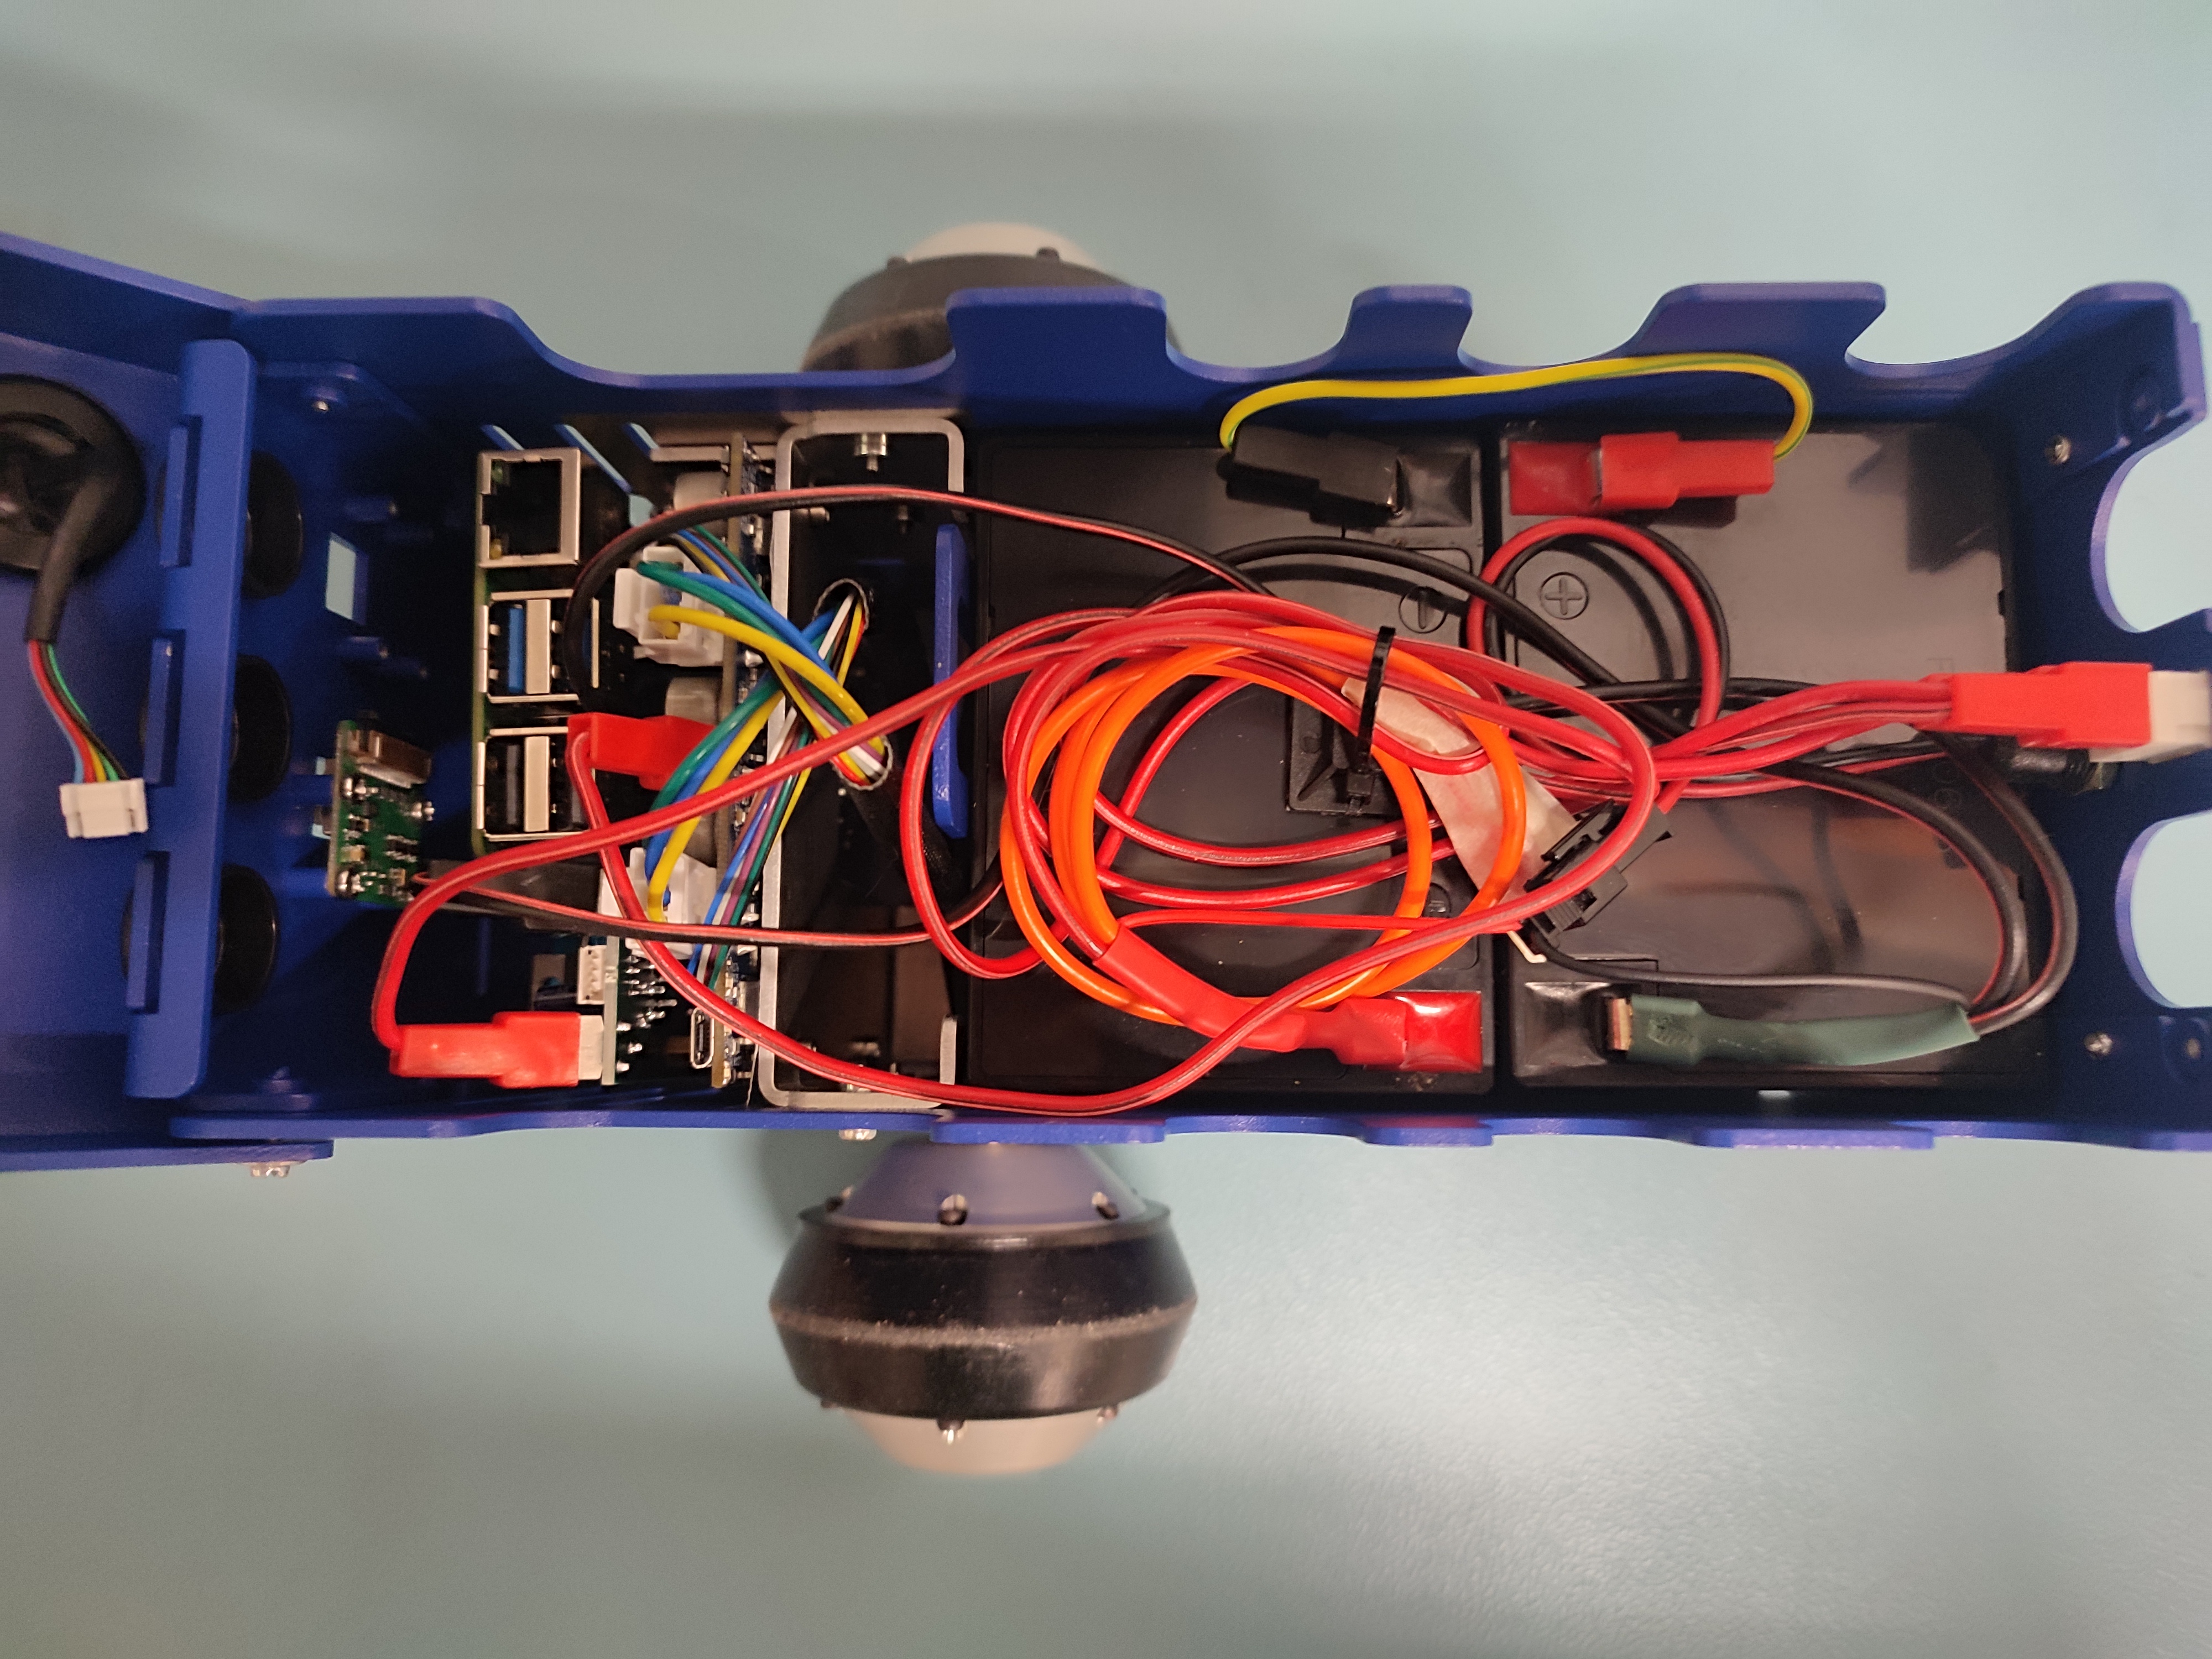
- Secure the Battery:
Add the batteries inside the robot.
Connect the batteries to the Motor Controller Board (MCB), the switch, and to each other using the provided wires.
Ensure the connection is firm to avoid power issues.
The wires should be connected like this:
You can follow the following video for exact step-by-step guide of adding the batteries inside the robot:
[TODO: Video of adding the batteries here.]
- Charge the Battery Inside the Robot:
Use a multimeter to check the batteires voltage. Keep the batteries always charged.
Once the batteries are inside the robot use the provided charger to charge them.
You can follow the following video for exact step-by-step guide of charging the batteries inside the robot:
[TODO: Video of charging the batteries inside the robot with the designated charger.]
Warning
Do not use a damaged battery, as it may pose a safety hazard.
Charge in a well-ventilated area away from flammable materials.
See Battery Guide for Magni 6 Robots for more information.
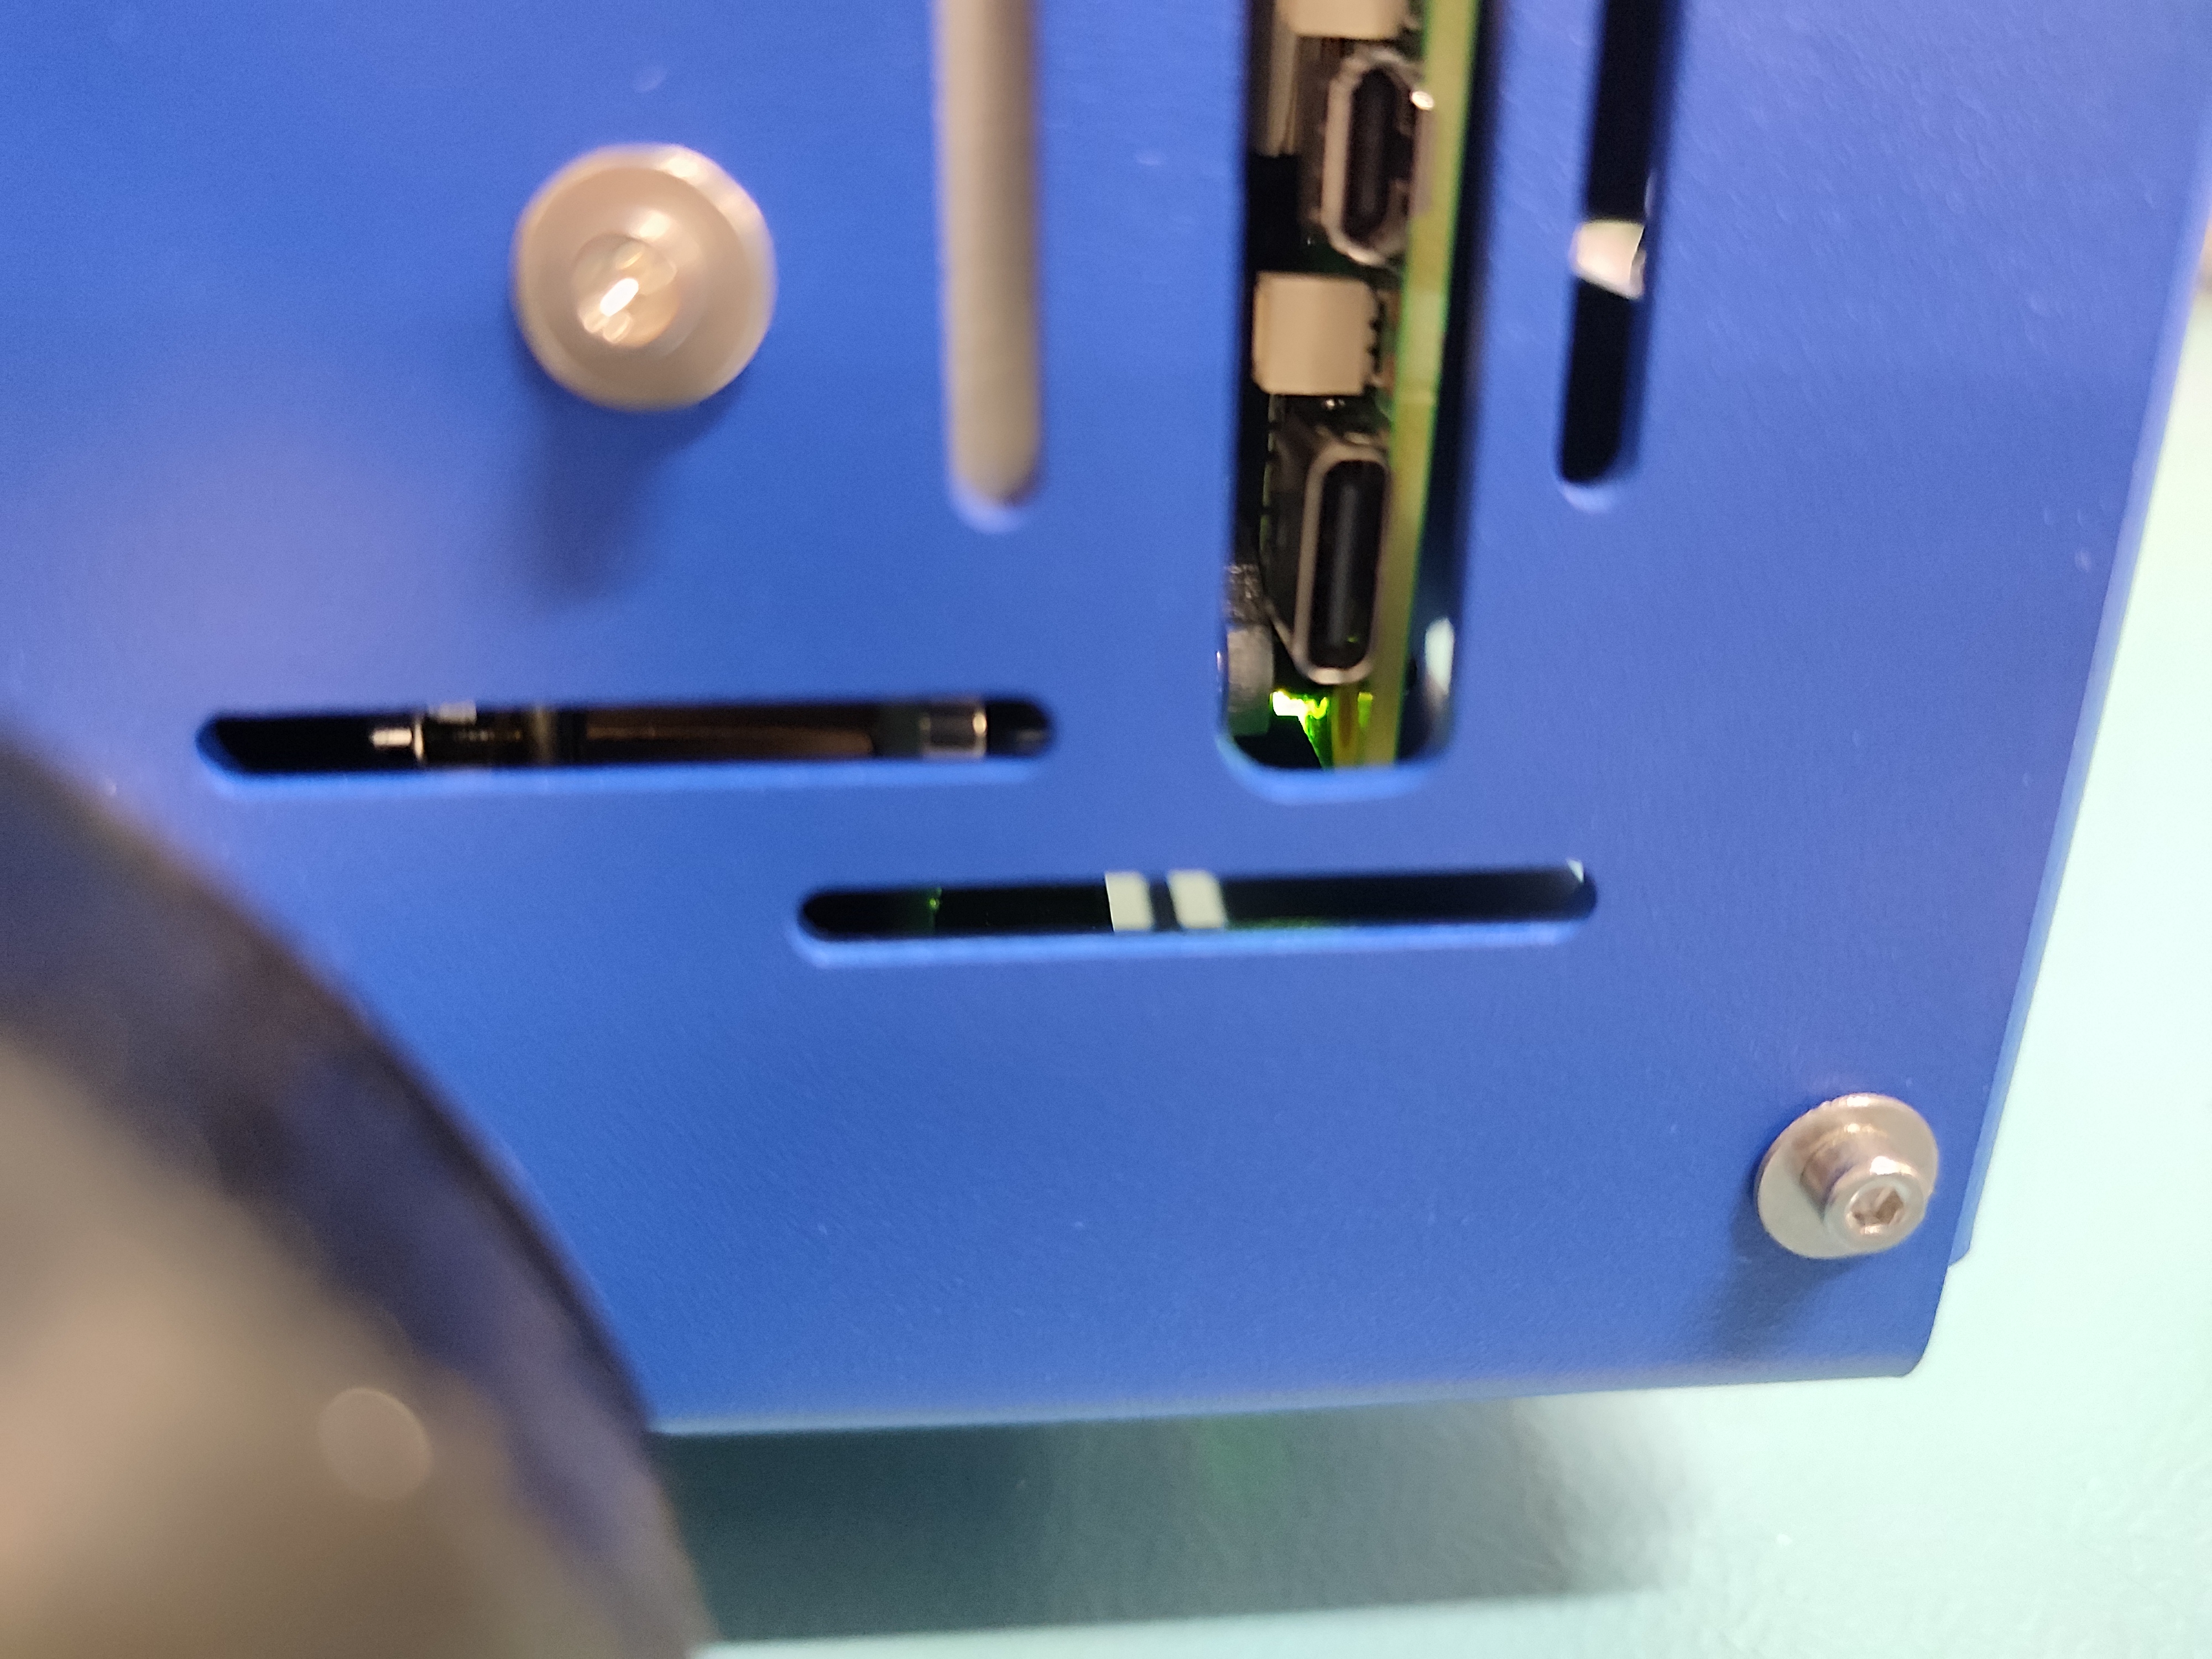
Powering up the Robot
Locate the white power switch on the back of the Magni 6 Mini and turn it on.
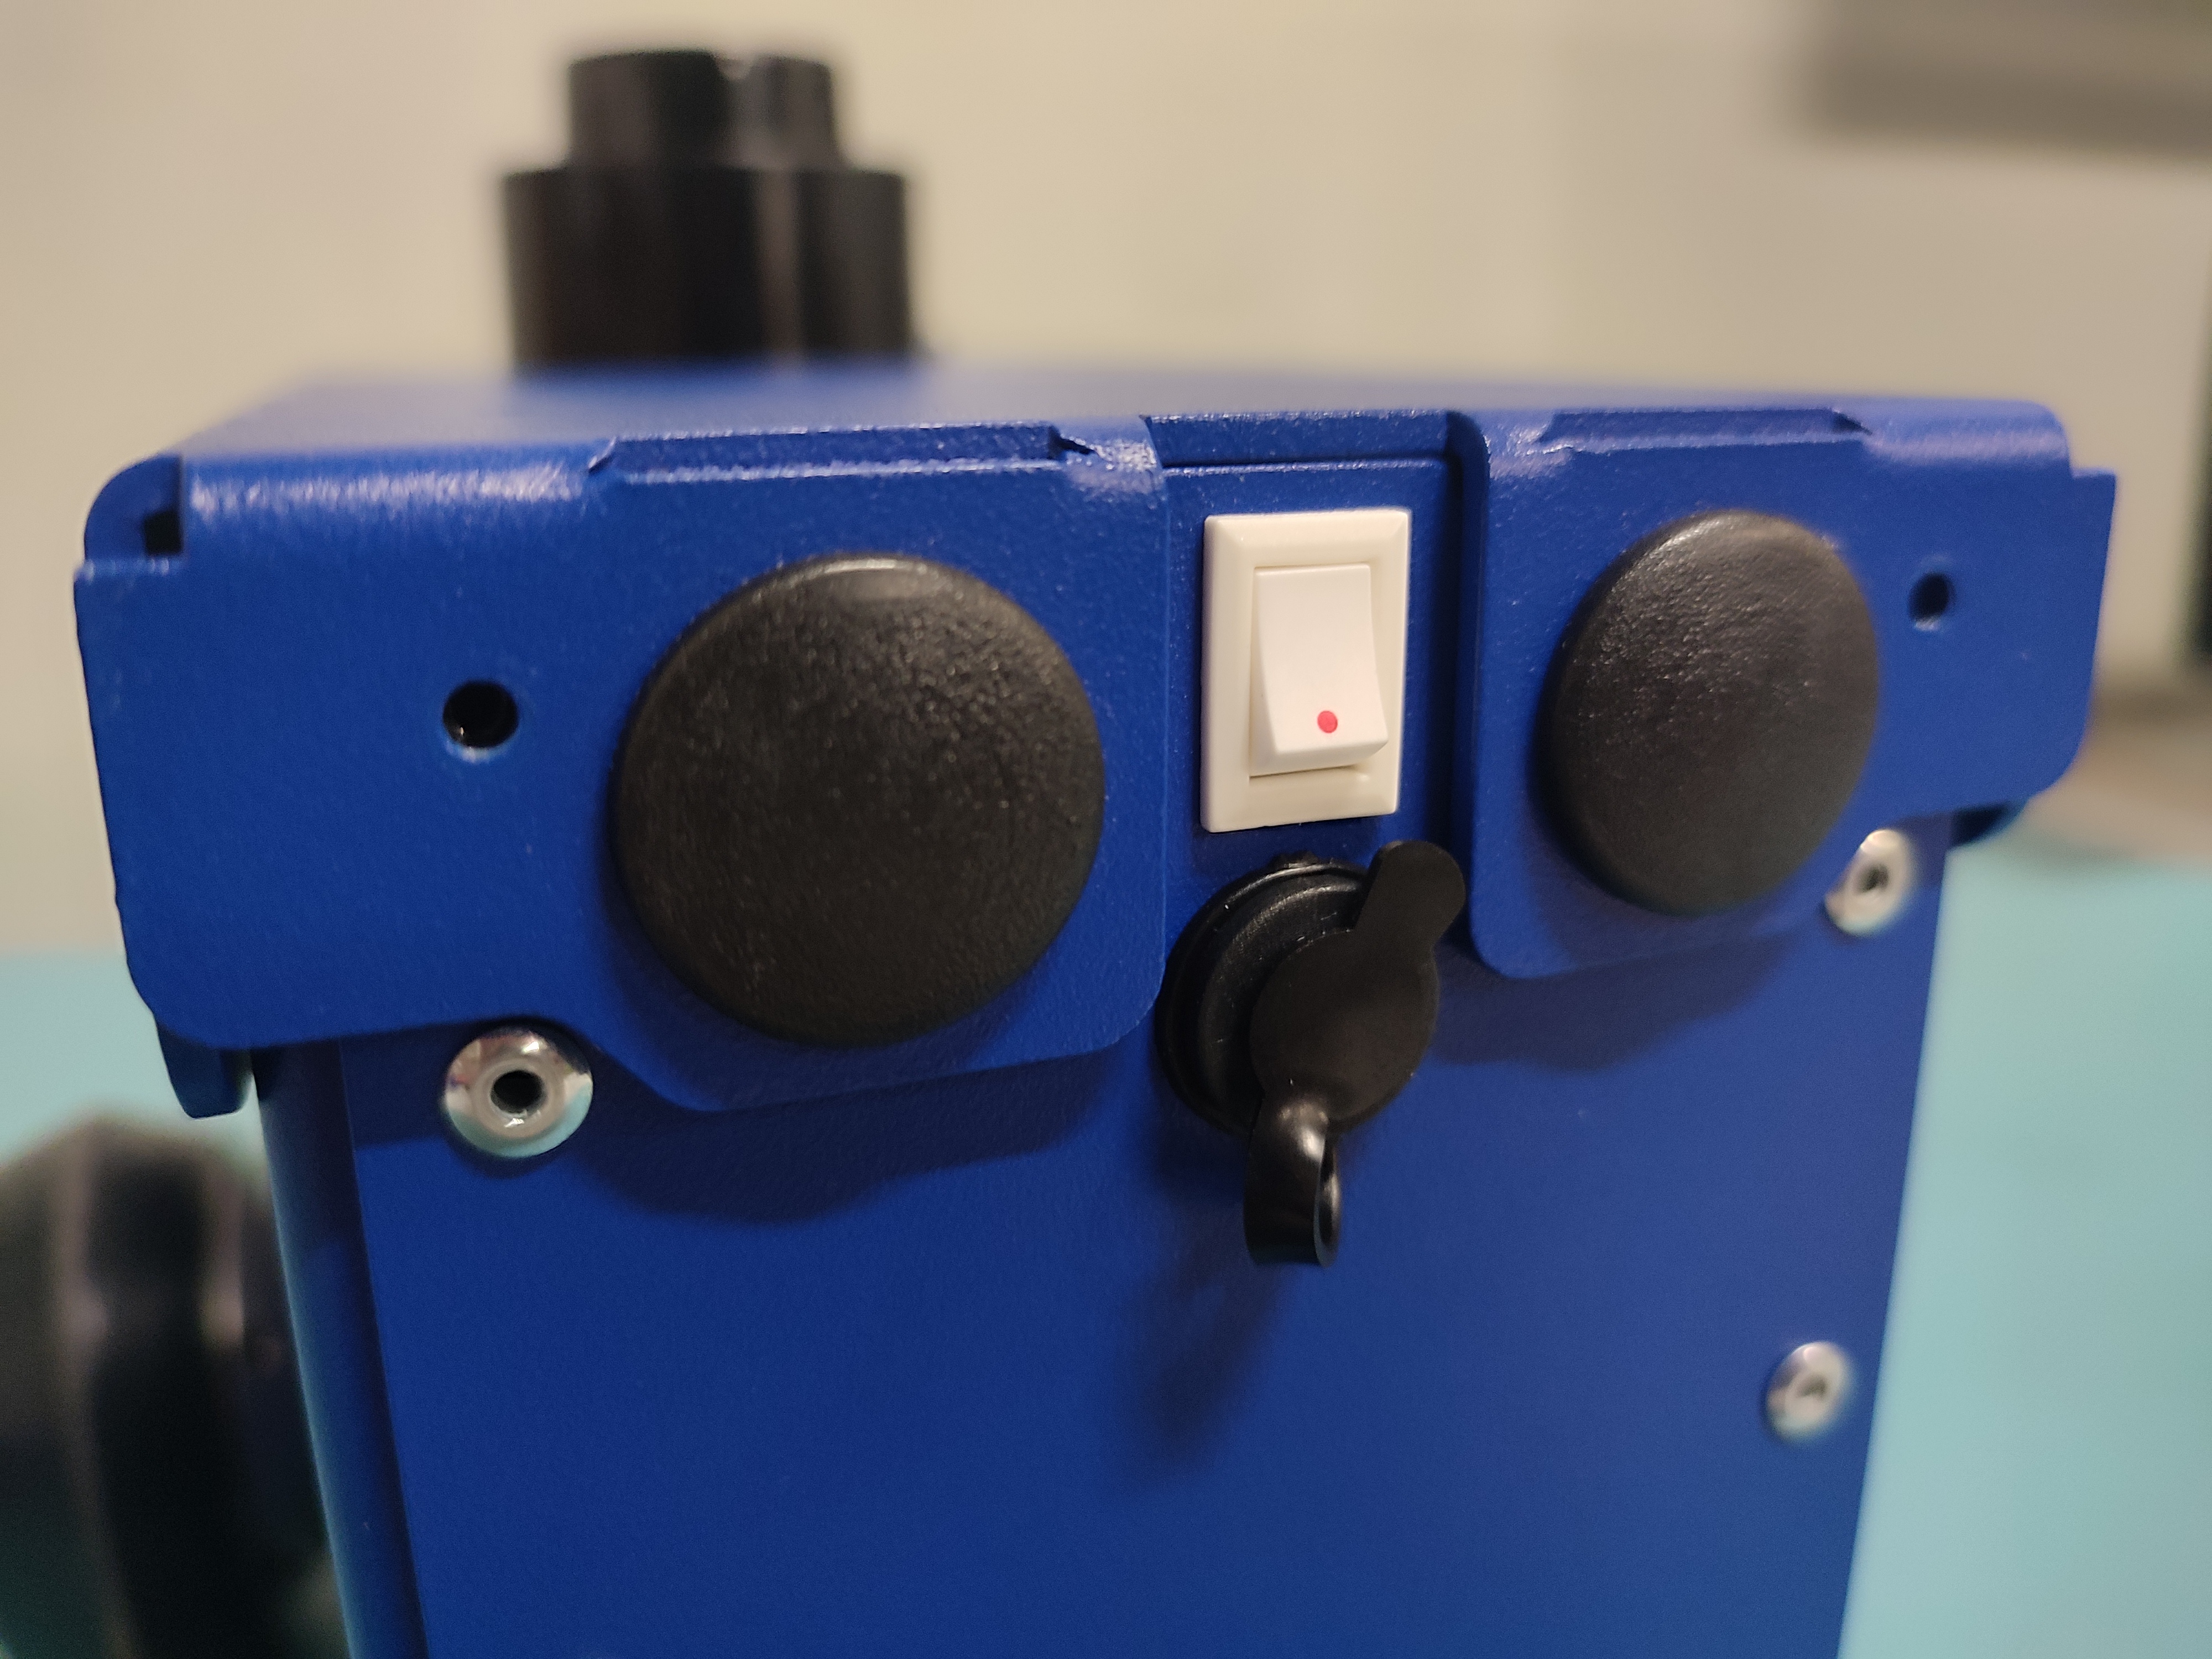
Confirm the Raspberry Pi’s green LED is illuminated. This indicates the robot is powered on.
You can follow the following video for exact step-by-step guide of powering on the robot.
[TODO: Video of powering on the robot]
The robot is now powered on and ready for connection.
Note
If the Raspberry Pi’s light is not green, ensure all components are properly connected. Before reconnecting hardware, switch the white switch off, to turn off the power to the robot.
Connecting to the robot
See Connecting, for more advanced connectivity guides. The Magni 6 Mini emits its own Wi-Fi for SSH access, or you can connect via home network.
Option 1: Connect via Robot’s Wi-Fi
Open a terminal.
SSH into the robot:
ssh ubuntu@10.42.0.1
You will be prompted a password, the password is: ubuntu
You can follow the following video for exact step-by-step guide of connecting to the robot through AP mode here:
[TODO: Video of connecting to the robot through AP mode. ]
If you followed the steps successfully you will be connected to the robot:
Option 2: Connect via Home Network
Connect to the robot to your local network:
sudo nmcli device wifi connect <AP name> password <password>
Example:
sudo nmcli device wifi connect myhotspot password mypass1234
Open a new terminal (the first will be frozen).
Identify the robot’s IP address on the network (hostname: ubuntu).
SSH into the robot:
ssh ubuntu@[robots IP]
You can follow the following video for exact step-by-step guide of connecting to the robot through the network:
[TODO: Video of connecting to the robot through network mode. ]
You are now connected to the robot with Internet access.
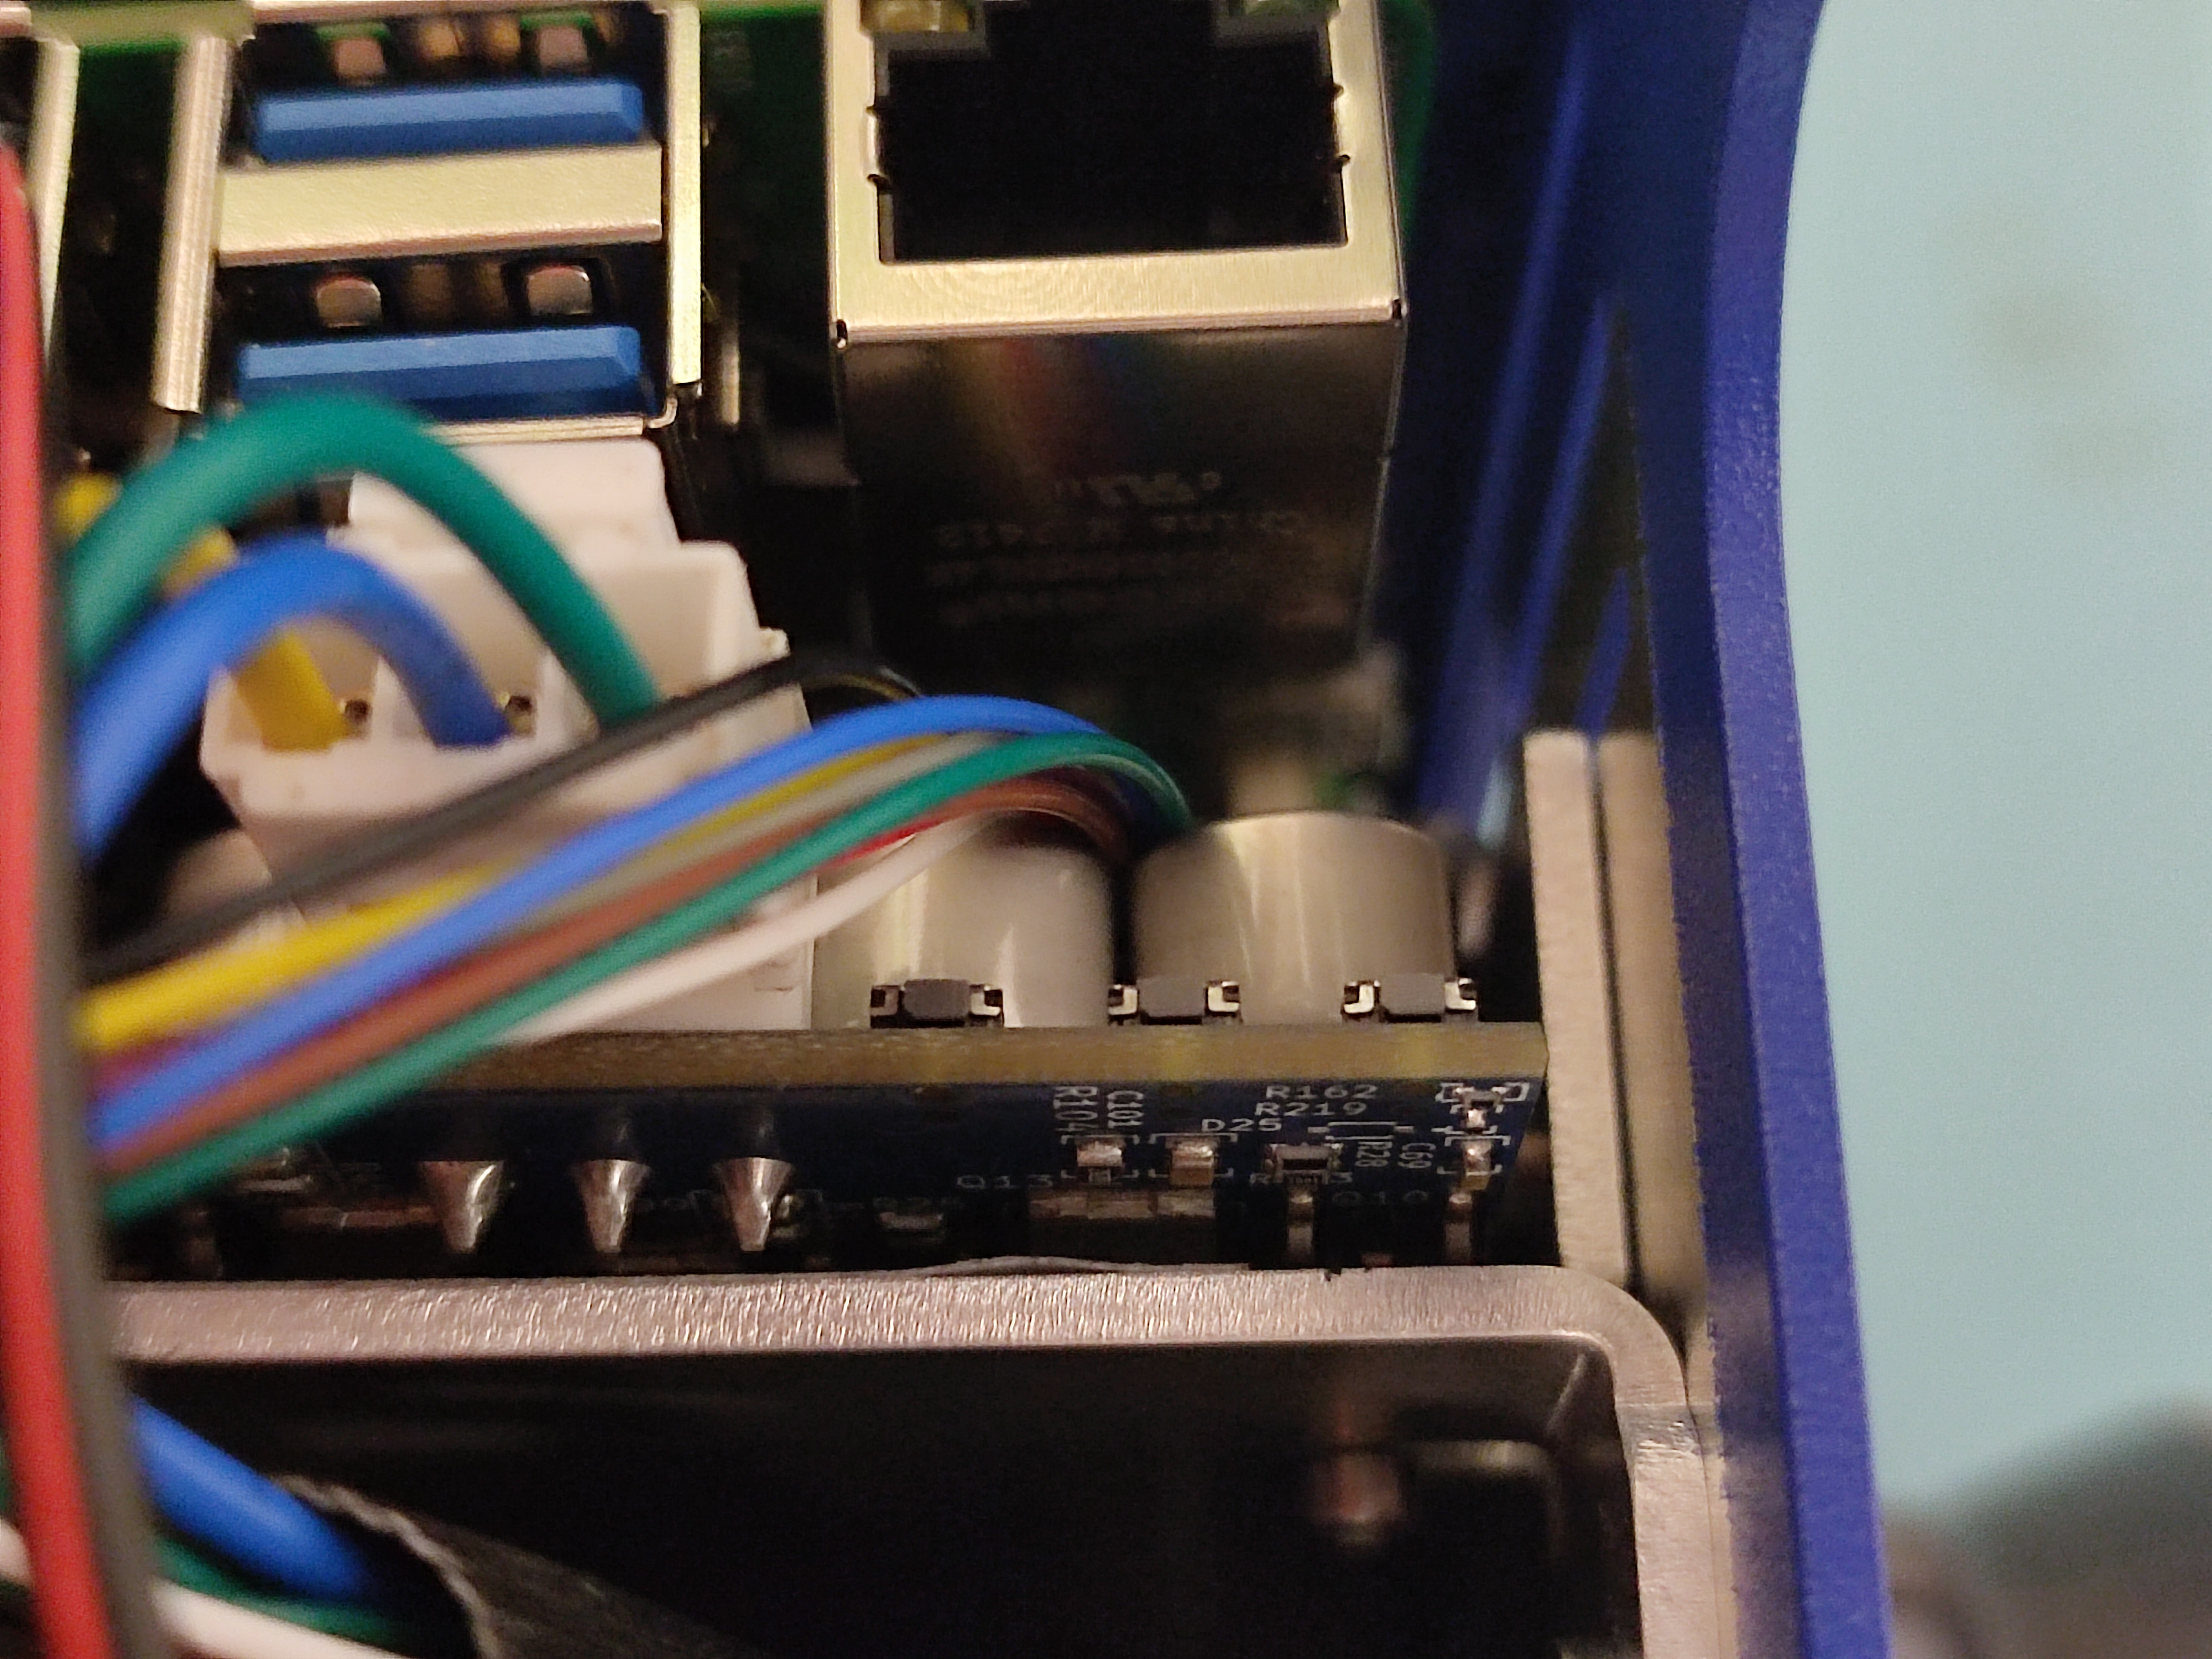
Test Driving the robot
To drive the robot you must fulfill the following requirements:
Ensure the robot is powered on.
Open three terminal sessions connected to the robot (via SSH)
Activate the MCB by pressing the button closest to the wires.
Warning
Place the robot on the ground before driving to prevent it from falling off a table.
In each terminal, run the following commands (one per terminal):
zenoh
zenoh bridge
teleop
Focus on the third terminal and follow the teleop instructions to drive the robot.
You can follow the following video for exact step-by-step guide of driving the robot:
[TODO: Video of driving the robot ]
If you’ve followed this guide, you’ve unboxed the Magni 6 Mini, inspected for damage, installed batteries, connected wiring, powered on, connected to, and driven the robot.
Congratulations! You are now a robotics engineer.
Explore our project guides here: Magni 6 Mini Projects.